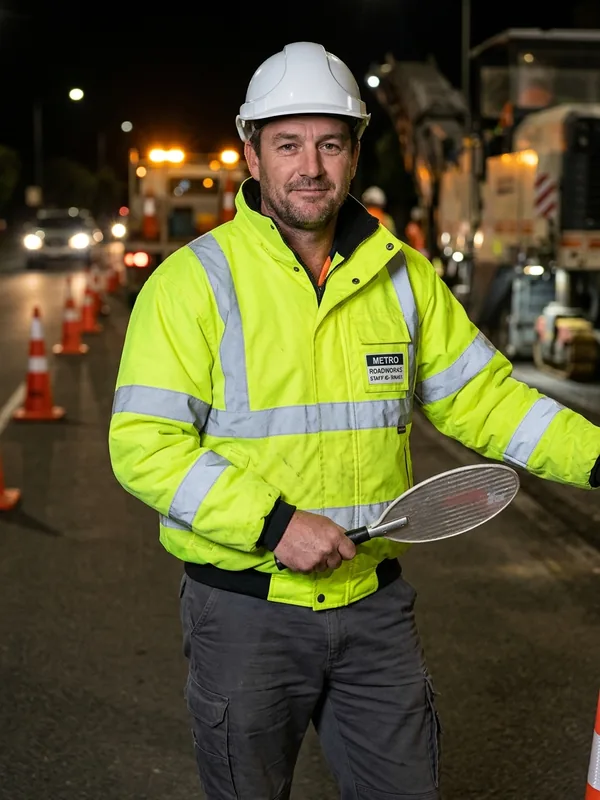
Road crew in fluorescent yellow-green and orange-red Class 2 safety vests at a night work zone, reflective tape lit by headlights

Hi-vis safety vests · Class 2

Custom Safety Vests With Your Logo, Built to ANSI/ISEA 107 Class 2 and EN ISO 20471

Cut, sewn, taped and decorated in our own factory, with your logo measured against the standard's minimum background area on every size before sampling.

Standard
ANSI/ISEA 107 Type R · EN ISO 20471
Class
Class 2 vests; Class 3 as sleeved builds or ensembles
Colours
Fluorescent yellow-green · fluorescent orange-red
Logo
Background area checked size by size
File
Mill test reports + your signed build spec sheet

01By crew

Custom Hi-Vis Vests for Construction, Warehouse, Road Crews and Distributors

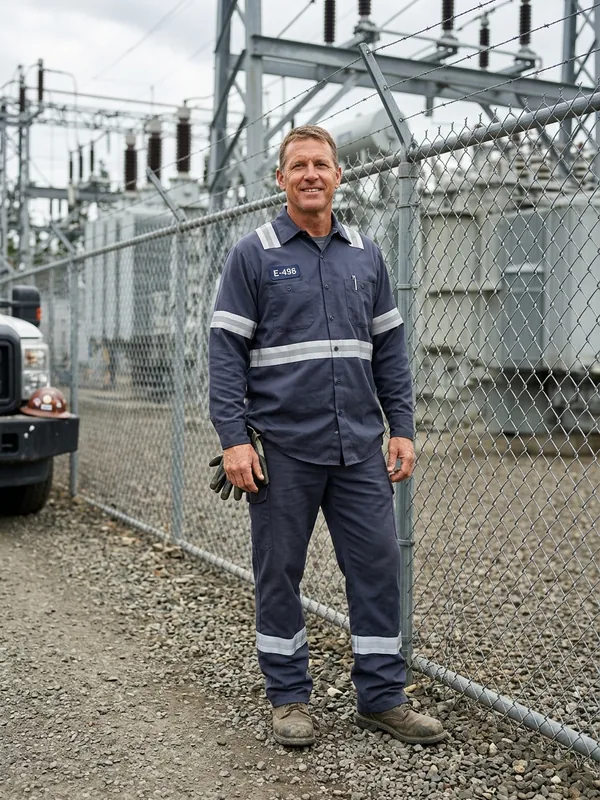
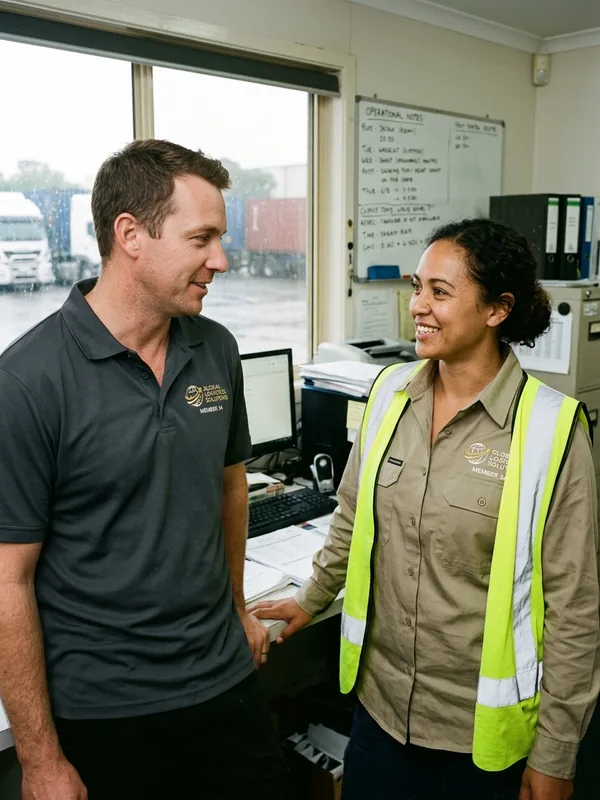
Everyone on site wears one, visitors and subcontractors included, so vest orders run large, size-spread and frequent. Each crew runs its own build.

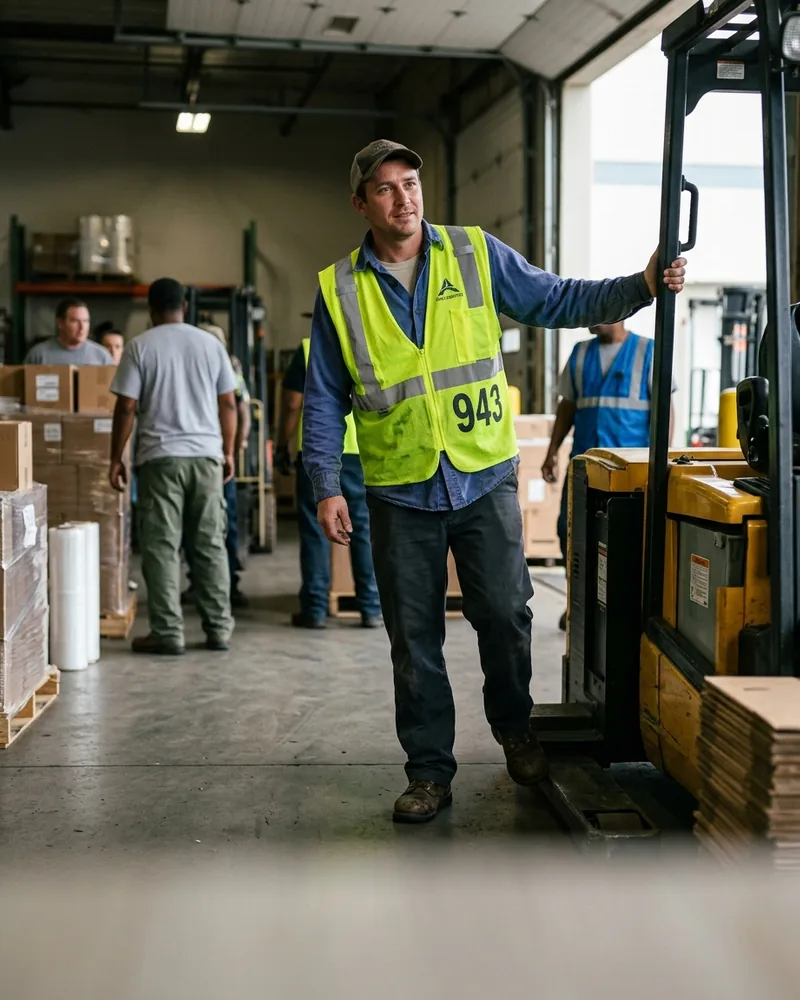
Forklift driver in a hook-and-loop hi-vis vest with a crew number on the back panel

Warehouse and logistics

Hook-and-loop fronts for vests worn on and off all shift; breakaway vests that release when snagged; a crew ID number on the back, readable on camera.
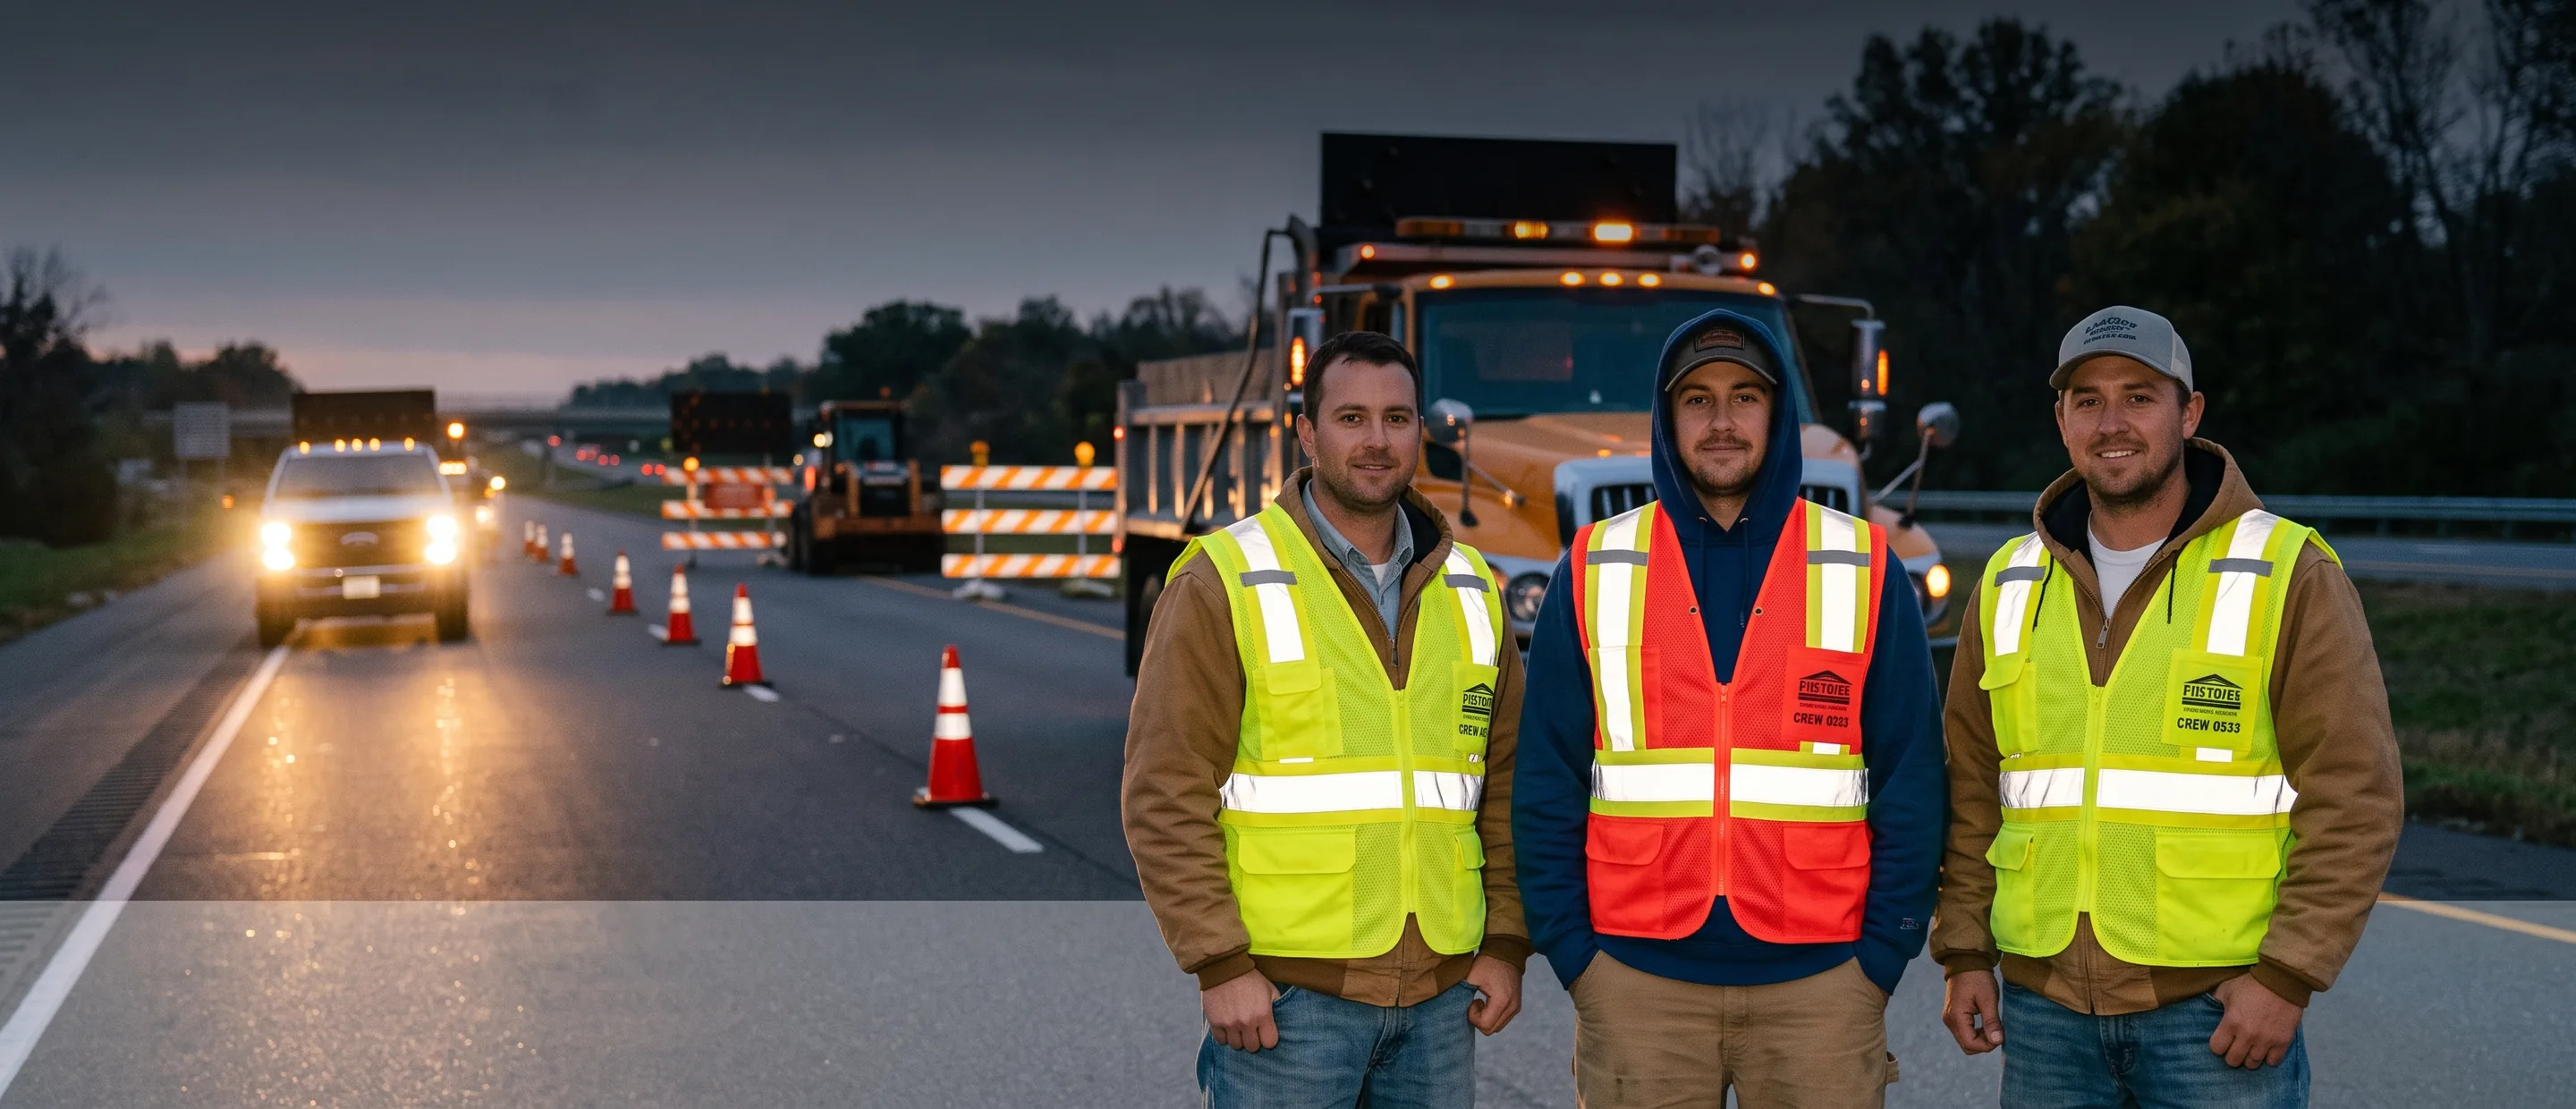
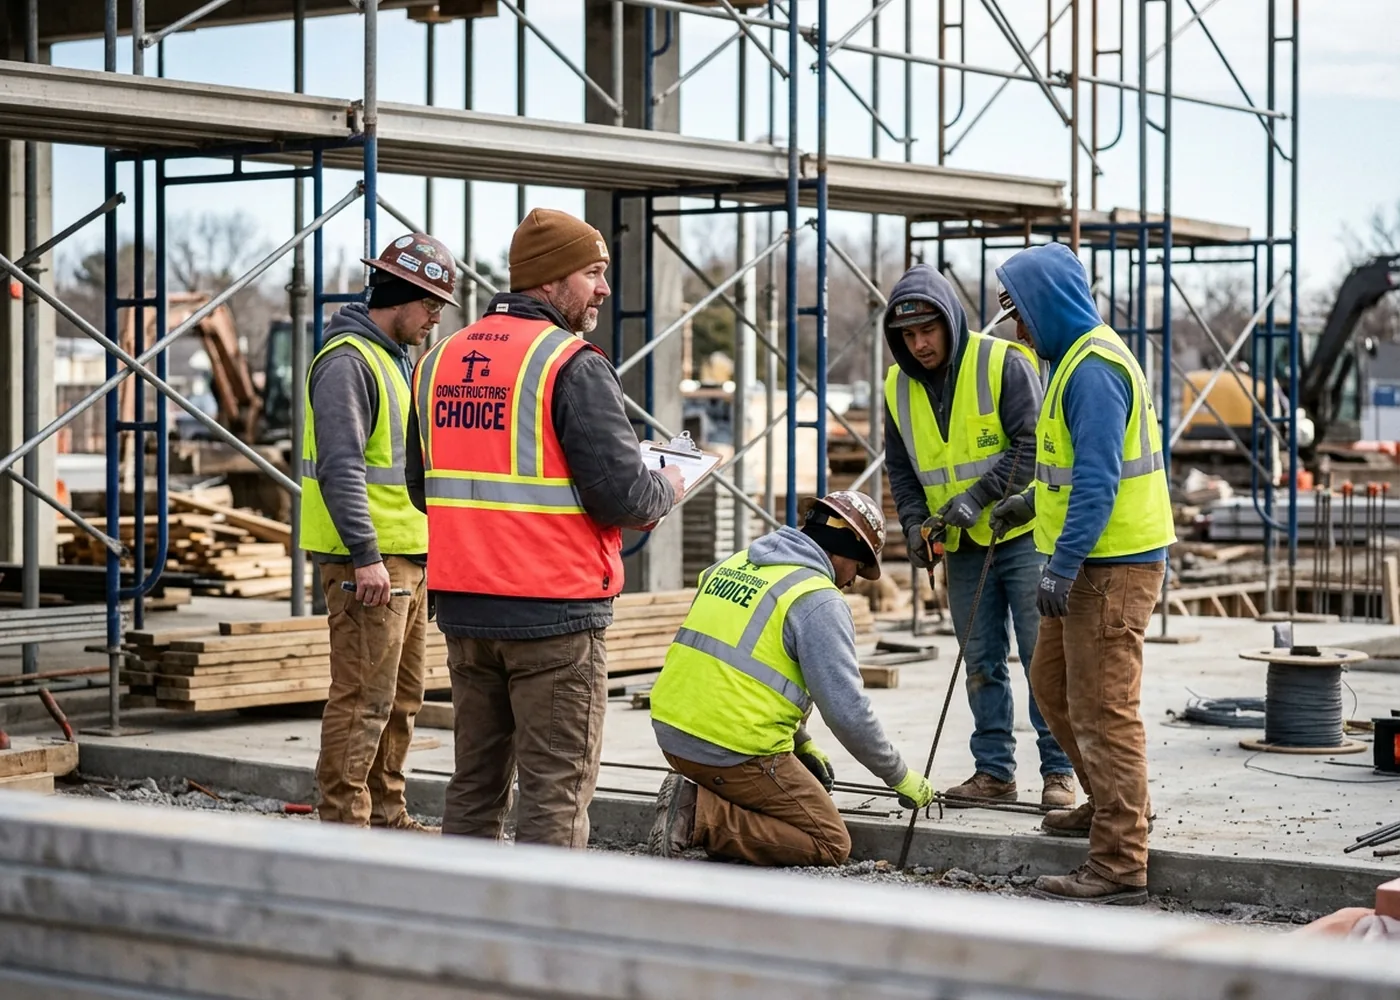
Construction crew and supervisor in yellow-green and orange-red safety vests with a contractor logo on the back

Construction contractors

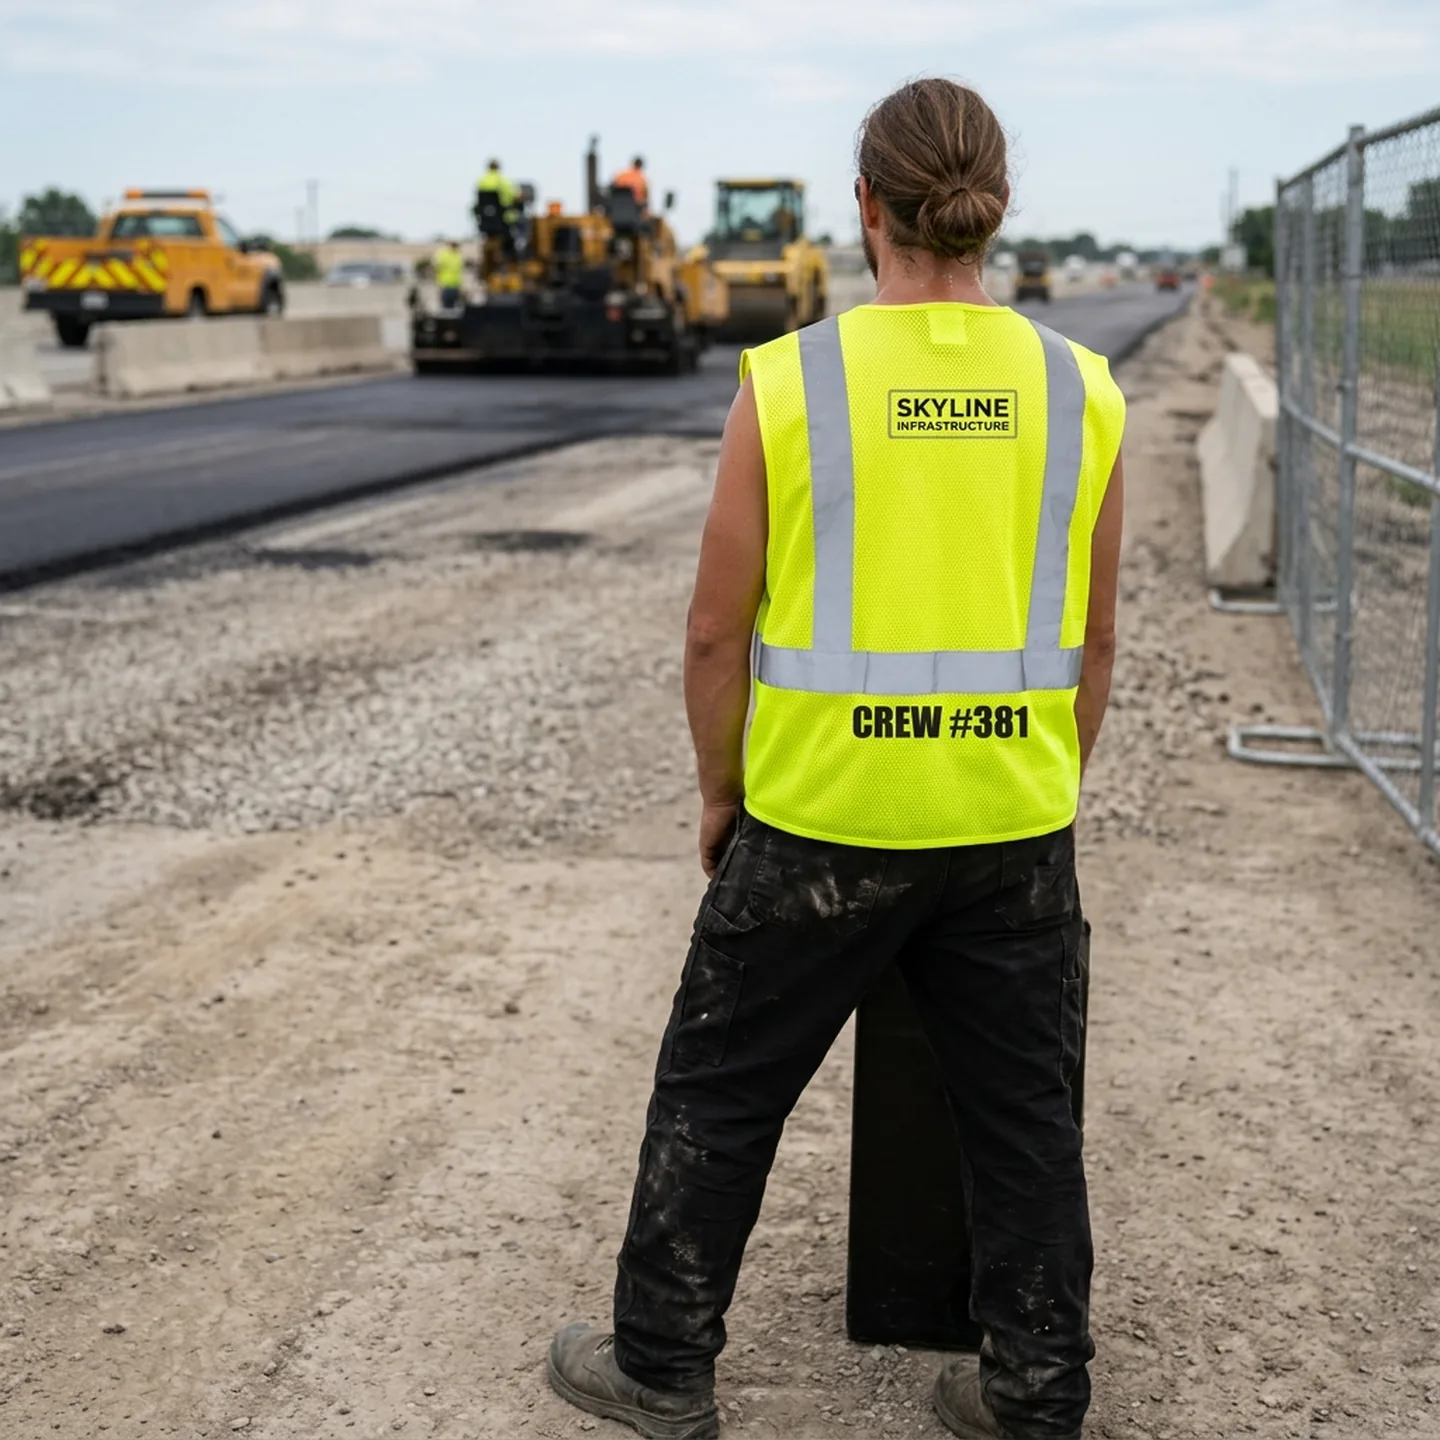
Back-panel logo plus a small chest logo. Knit for cool months, mesh for summer. Yellow-green for crews, orange-red for supervisors on one pattern. Cartons packed per job site.
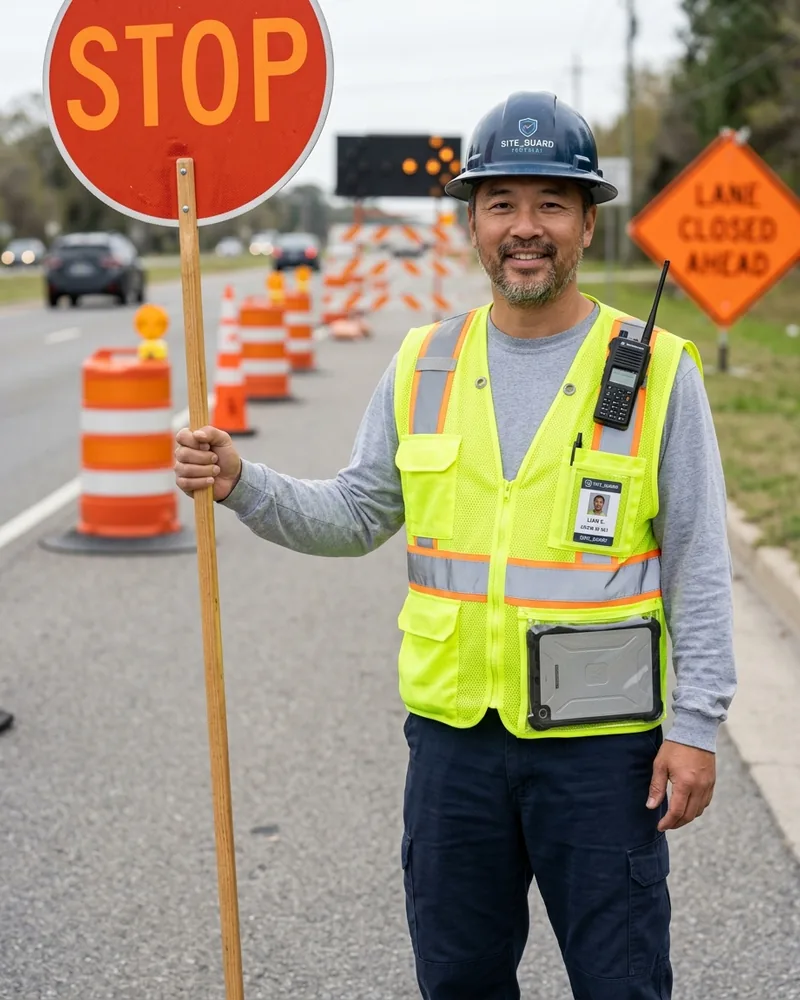
Traffic control worker in a surveyor-style vest with tablet pocket and radio tab

Road and utility contractors

Class 2 for most tasks, Class 3 builds where the zone requires it. Surveyor-style vests with tablet pocket and radio tabs.
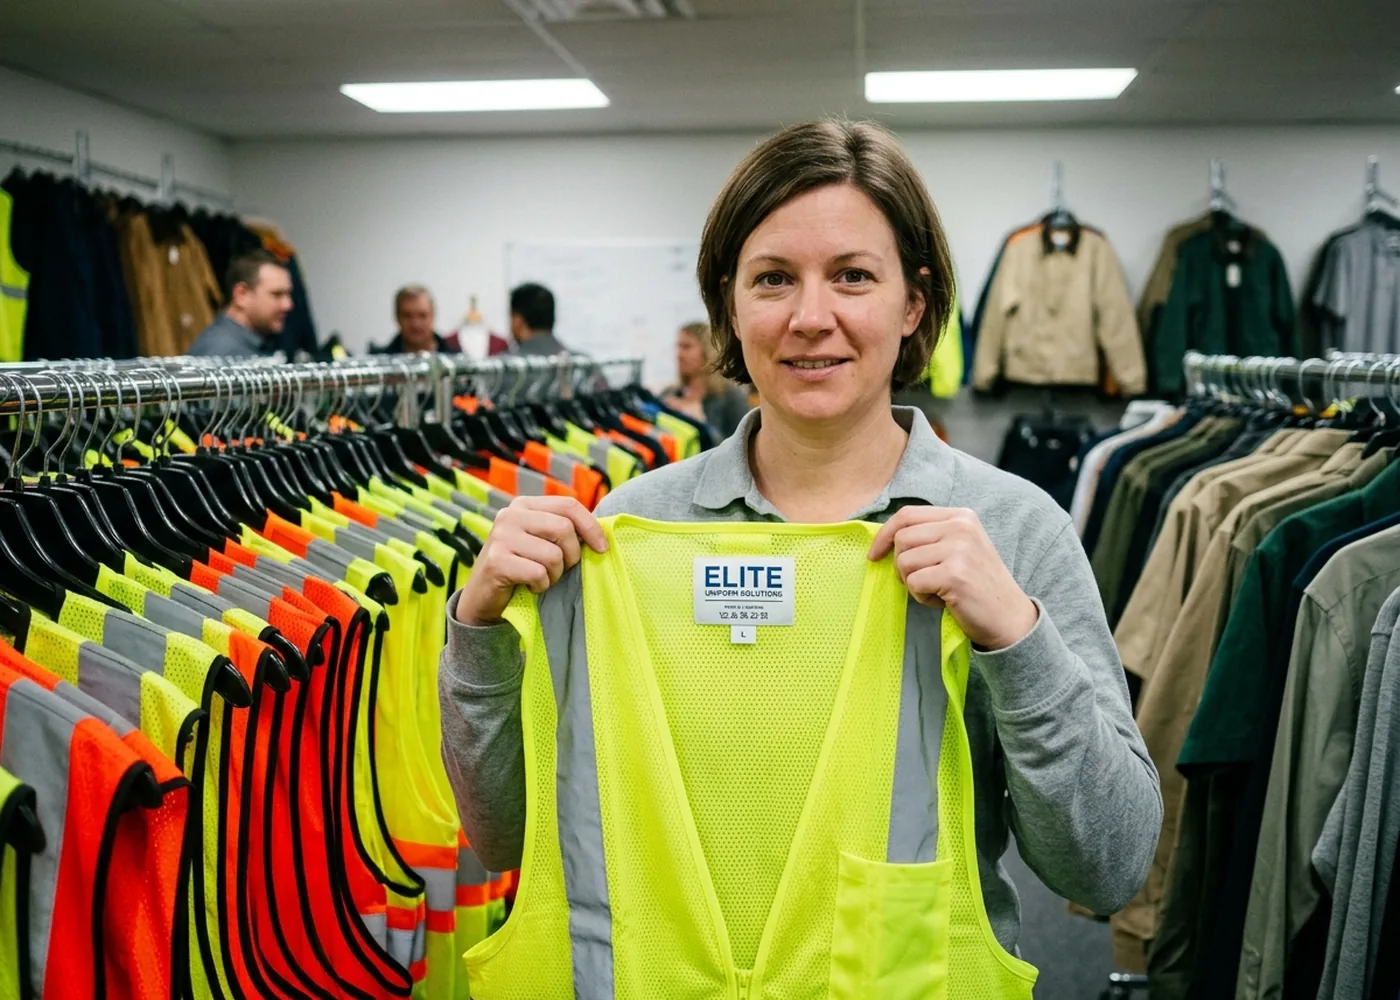
Distributor sample room with private-label hi-vis vests on rails

Distributors and private-label programs

Core styles under your neck label, each end customer's logo added per order with its own area check and build spec sheet.
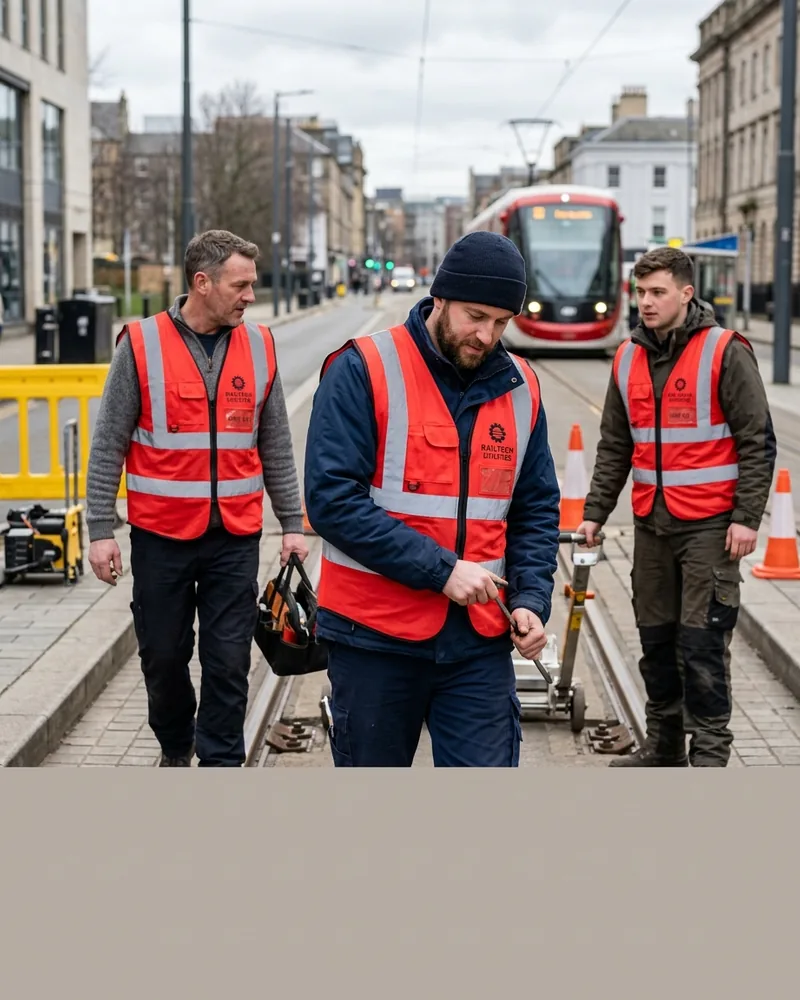
Rail track crew in Europe wearing fluorescent red EN ISO 20471 vests

EU contractors

The same vests as EN ISO 20471 builds, including fluorescent red.

Facility services

  • Vests ordered alongside shirts, pants and jackets
  • Hi-vis arrives in the same cartons as the rest of the uniform
Work shirts for the same crews

02Choosing

Five Choices That Set Your Safety Vest: Standard, Class, Fabric, Closure, Logo

Confirmed first when your inquiry arrives: four are picked, the fifth is calculated.
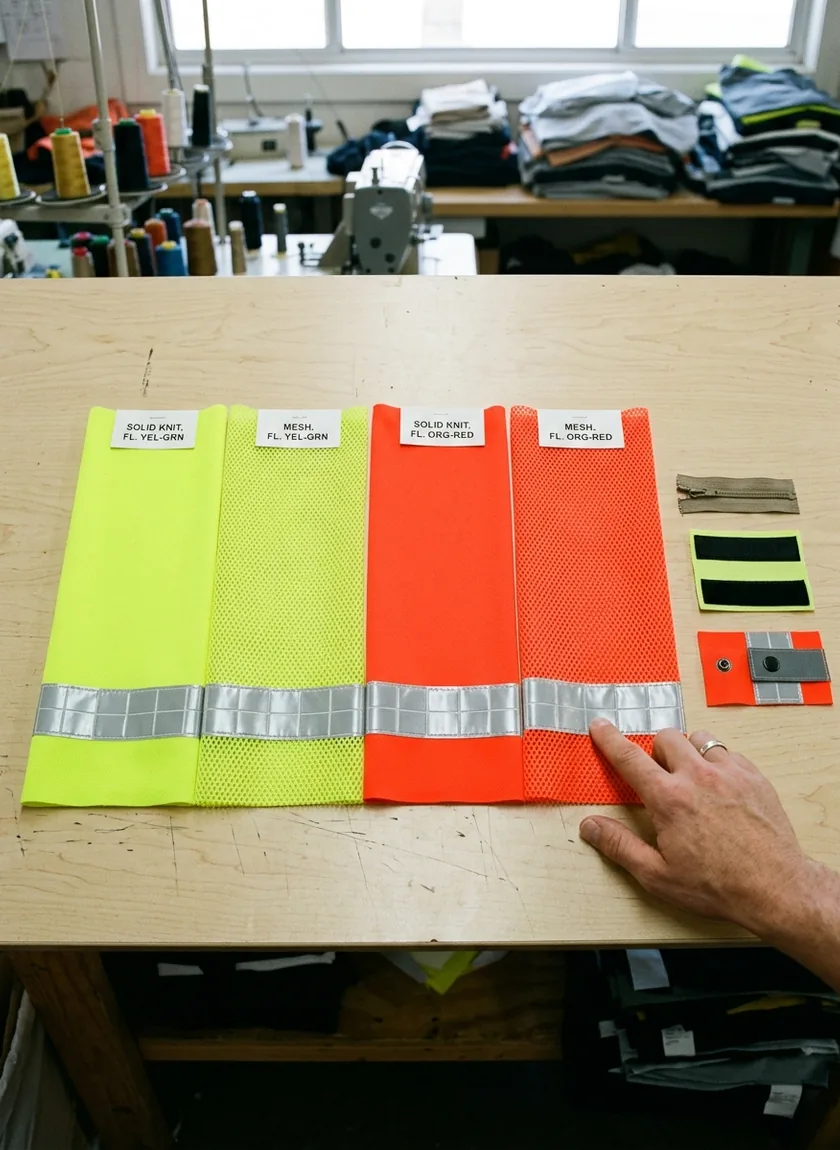
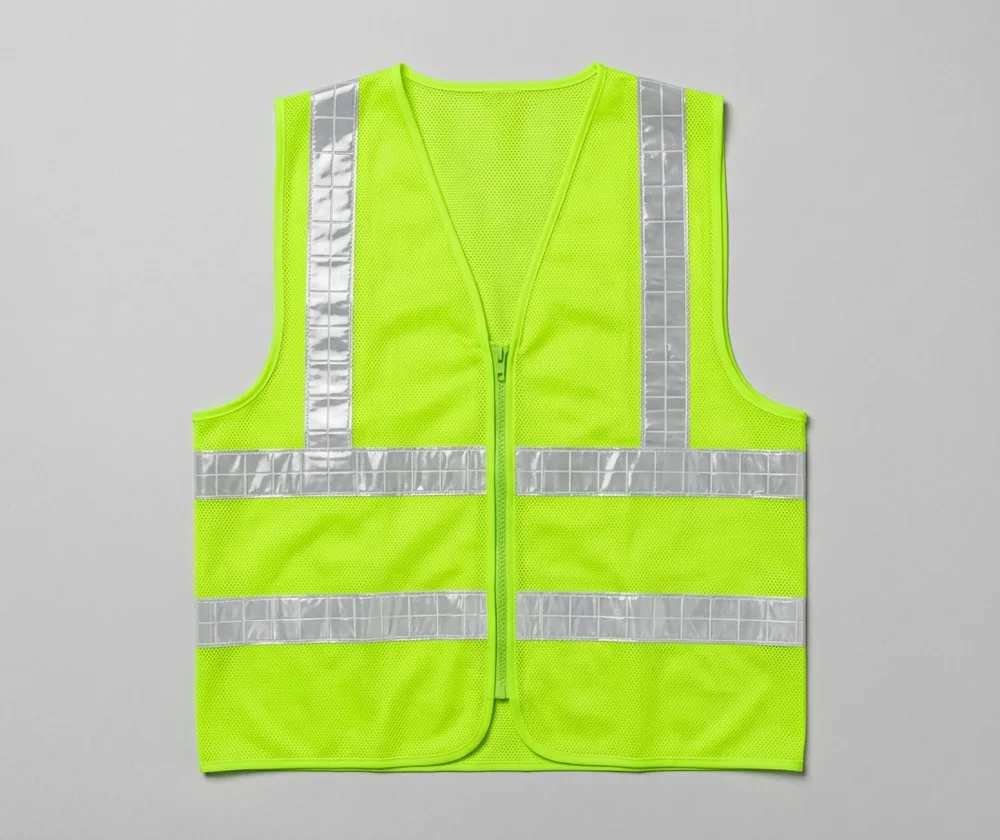
Yellow-green and orange-red safety vest samples in knit and mesh with zipper, hook-and-loop and breakaway closures
01

Standard

ANSI/ISEA 107 for North America, EN ISO 20471 for the EU. It sets the area figures, colours and label wording; programs supplying both run one spec sheet per standard.

02

Class

Vests are Class 2 builds. If site rules call for Class 3, the program moves to a sleeved build or vest-and-pants ensemble here, before sampling.

03

Colour and fabric

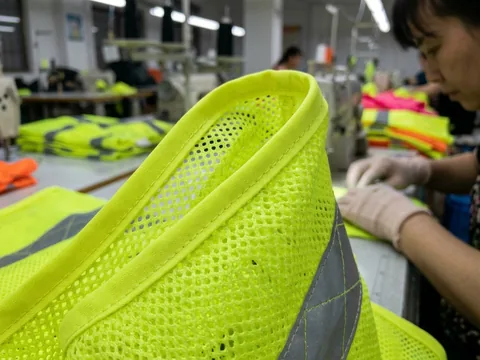
Yellow-green or orange-red, plus red on EN builds. Solid knit gives the most logo area; mesh is lighter and cooler.

04

Closure

Zipper for all-day wear, hook-and-loop for on-and-off, 5-point breakaway near conveyors, rotating equipment and vehicle mirrors.

05

Logo size and position

The logo sits on the background that makes the vest compliant, so its size is calculated against your smallest size before it is agreed.

See the area check

03Specifications

Safety Vest Specifications: Fabrics, Colours, Reflective Tape, Sizes

ItemSpecification
Build
StandardsANSI/ISEA 107 Type R · EN ISO 20471
MarketsNorth America · EU
ClassClass 2 vests · Class 3 as sleeved builds or vest-and-pants ensembles
Material
Solid fabric100% polyester knit, 120 gsm
Mesh fabric100% polyester mesh, 100–120 gsm
ColoursFluorescent yellow-green · fluorescent orange-red · fluorescent red on EN ISO 20471 builds
Reflective tapeSegmented heat-applied (standard) · sewn glass-bead (option)
Tape width2 in / 50 mm, meets the minimum width in both ANSI/ISEA 107 and EN ISO 20471
Build options
ClosuresZipper · hook-and-loop · breakaway
Pockets and tabsChest pocket · ID pocket · radio and mic tabs · surveyor-style tablet pocket
Logo methodsScreen print · heat transfer
Fit, label and packing
SizesXS–5XL
Logo zonesLeft and right chest · back above and below the tape
Compliance labelStandard, type, class, size, care instructions, maximum wash count
PackingOwn polybag + size sticker · cartons by size or by person
Front of a yellow-green safety vest laid flat with the chest logo zones marked
Front
Left chest Right chest
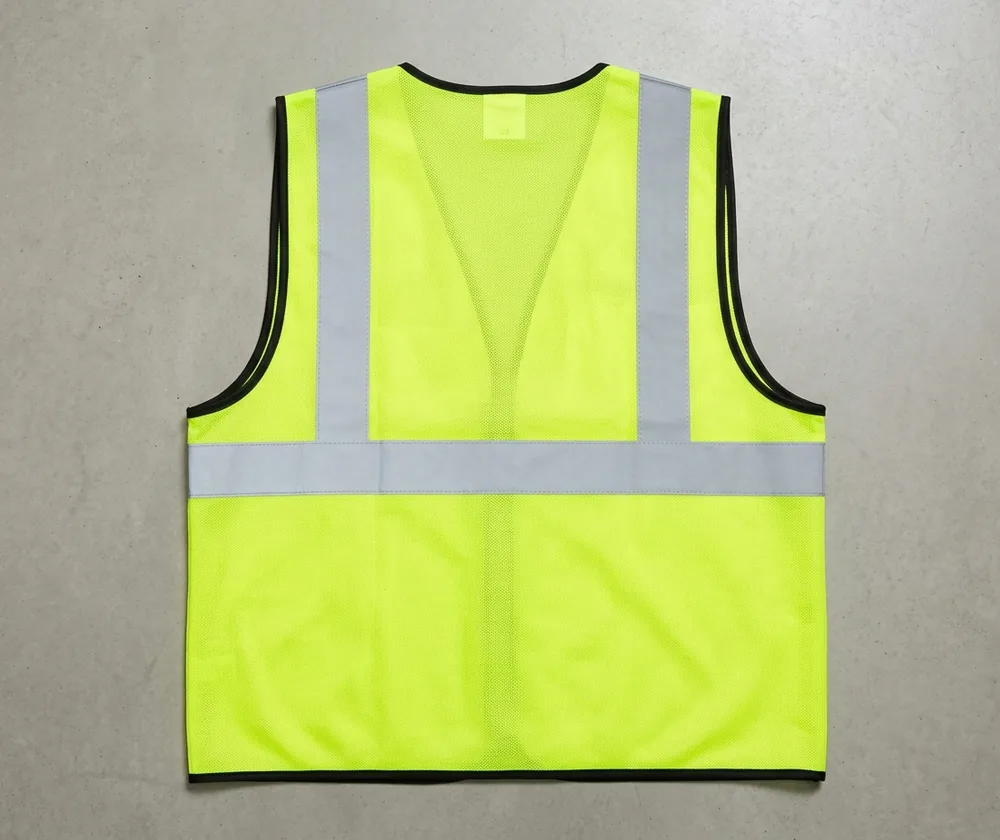
Back of a yellow-green safety vest laid flat with logo zones above and below the horizontal tape
Back
Above the tape Below the tape

04Logo area

Logo Area Checked Against the Class 2 Minimum on Every Size

A Class 2 vest is compliant because it carries enough fluorescent background and enough reflective tape. A logo covers background, and covered area no longer counts, so every logo is part of the compliance calculation.

ANSI/ISEA 107 · Class 2
775 in²background · 201 in² retroreflective
EN ISO 20471 · Class 2
0.50 m²background · 0.13 m² retroreflective

For Class 3 builds the minimum areas in the standard are 1,240 in² and 310 in² under ANSI/ISEA 107, and 0.80 m² and 0.20 m² under EN ISO 20471.
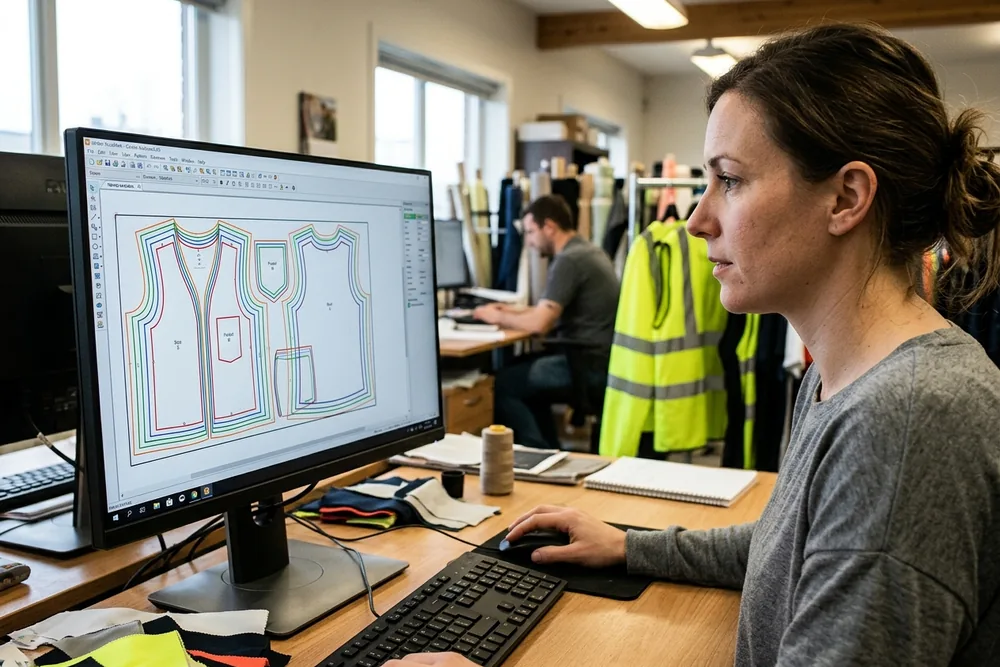
Pattern maker grading a safety vest pattern across sizes in CAD software
Logo area check · smallest size on your order
Standard
×in
×in
×in
×in
×in
Logo area deducted
40 in²
Class 2 background minimum
775 in²
Smallest size needs at least
815 in²

Confirmed size by size on your build spec sheet.

Worked example: a back logo at the full 10 × 4 in zone deducts 40 in², so the smallest size needs at least 815 in² of background to keep 775 in² after it. On an EN ISO 20471 build, a 25 × 10 cm back logo deducts 0.025 m², and the smallest size needs at least 0.525 m² to keep 0.50 m².

  1. Start from the smallest size

    A small vest has less background than a large one, and the same logo takes a bigger share of it. On an S–4XL order, the S vest is checked first.

  2. Take the area from the graded pattern

    Background per size comes from the CAD pattern. Tape area counts against the retroreflective minimum and is never counted as background.

  3. Deduct every mark at full outline

    Each logo, name and number is measured as the full rectangle it occupies, open space included, which keeps the check on the safe side for any artwork.

  4. Compare with the minimum

    On every size, background minus logos must be equal to or greater than the minimum. Add a chest logo and a crew number, and each is deducted in turn.

  5. Keep the tape whole

    Logos never cover reflective tape and sit at least 10 mm from any tape edge, so the full tape area counts on every size and the edge stays clear for pressing and washing.

05If a size falls short

Four Fixes for a Size That Falls Short, Agreed Before Sampling

A size that does not pass is reported before sampling, with these options.
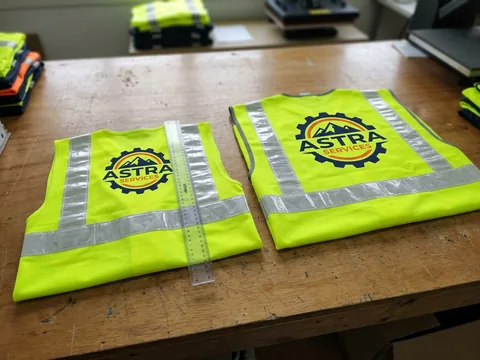
Fixes · in the order we suggest
  1. 1Grade the logoA smaller logo on the short sizes, one size per size band.
  2. 2Split the artworkName on the back, symbol on the chest.
  3. 3Drop a secondary markA slogan or second logo moves to the shirt or jacket.
  4. 4Change the buildMove to a sleeved hi-vis build with more background.
The same logo printed at two graded sizes on the backs of a small and a large safety vest Back of a sleeved hi-vis T-shirt with tape on the sleeves and a large company logo
Never happens
  • A logo shrunk or moved quietlyNever without telling you first.
  • A logo over reflective tapeTape stays uncovered on every size.
  • Tape counted as backgroundTape area only counts against the retroreflective minimum.
You choose the option, before anything is sampled.

A re-order that adds a smaller size is checked again for that size before it is cut.

Back of a safety vest with a large logo above the horizontal reflective tape, lit by vehicle headlights at night

Every square inch of logo comes out of the vest's fluorescent background, and covered background no longer counts.

06Class 3 routes

Class 2 Vest, Sleeved Class 3 Build or Class 3 Ensemble

Vests are Class 2 builds. Where a site calls for Class 3, the build changes before sampling.

Tick two or three builds to compare them side by side.
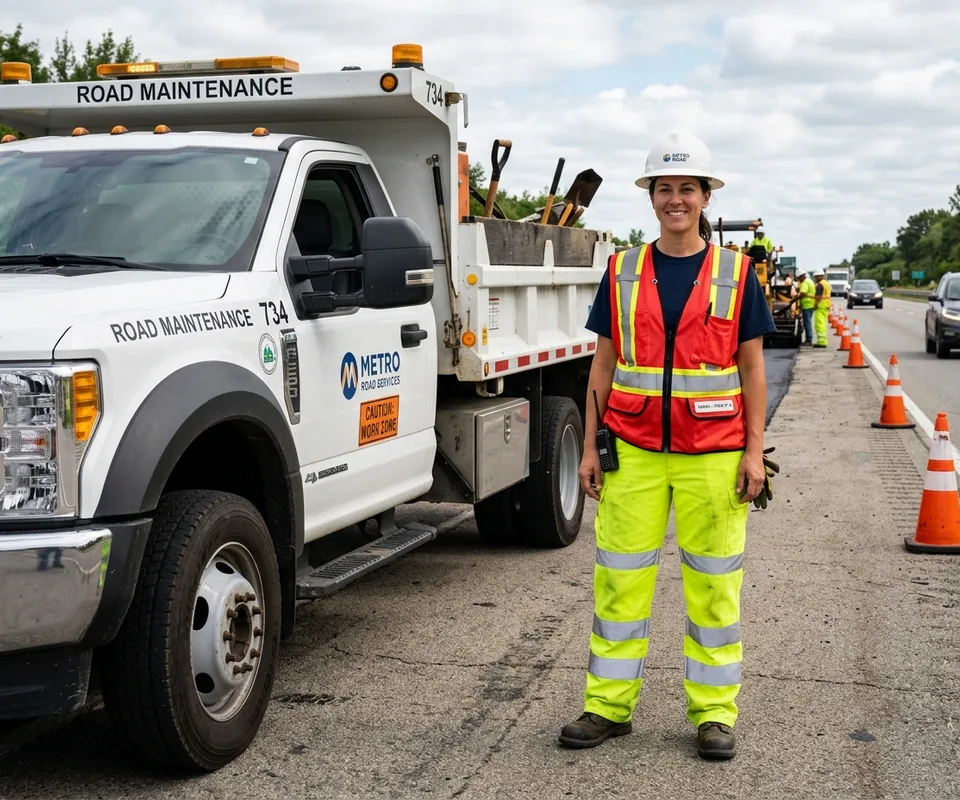
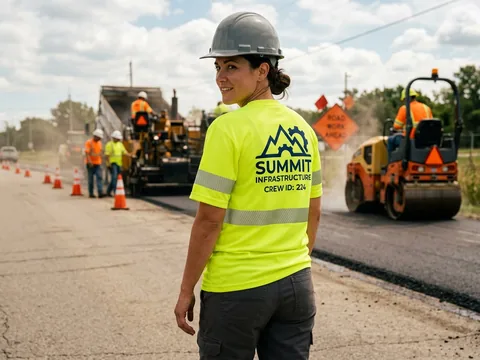
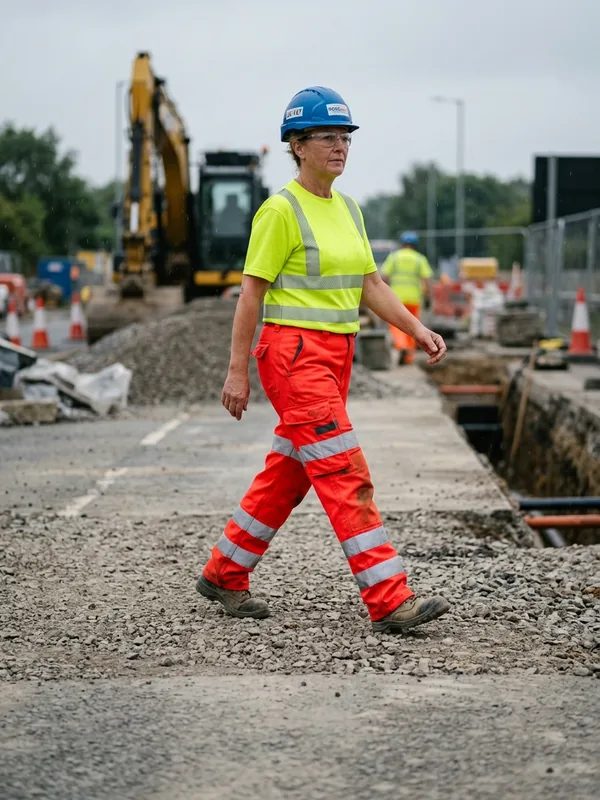
Roadside crew member wearing a Class 2 safety vest with Class E hi-vis work pants

Class 2 safety vest

Class 2 · this page
Crews it suits
Construction, warehouse, most road and utility tasks, visitors
Logo zones
Left and right chest; back above and below the tape

Hi-vis T-shirt with tape on the sleeves

Class 3 build
Crews it suits
Hot-weather road and utility crews
Logo zones · where
Chest, back, sleeve. Made here: name the class in your quote request.

Hi-vis jacket with tape on the sleeves

Class 3 build
Crews it suits
Night and winter work
Logo zones · where
Chest, back, sleeve · work jackets range

Class 2 vest + Class E pants

Class 3 ensemble
Crews it suits
Crews in Class 2 vests needing Class 3 for some zones
Logo zones · where
Vest zones; pants carry tape · work pants range

FR hi-vis builds

FR + hi-vis
Crews it suits
Utility and energy crews with arc or flash exposure
Logo zones · where
Set by the FR build · FR clothing range

07Build spec sheet

One Signed Build Spec Sheet for Every Hi-Vis Vest Style

It ties garment and decoration together, so the vest that leaves the factory is the vest you approved, size by size.
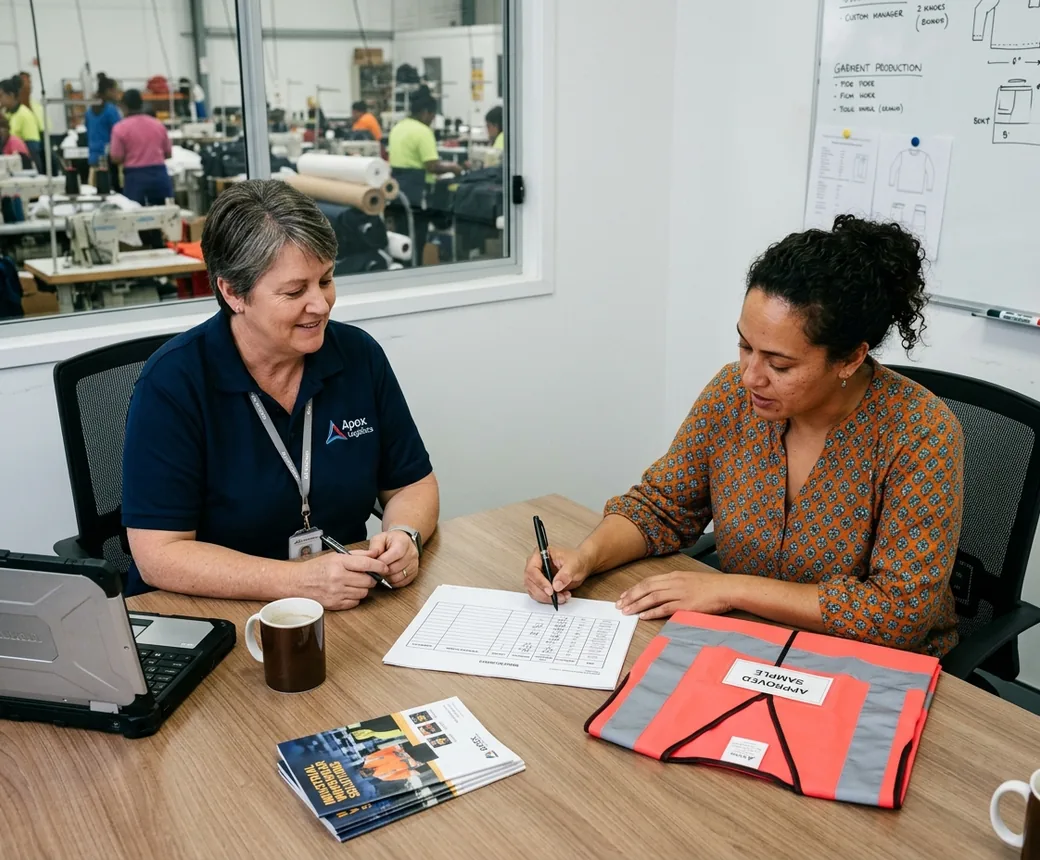
Buyer's safety manager and an account manager signing a build spec sheet beside an approved sample vest

Background material

Knit or mesh, weight, colour and the fabric lot's mill test report.

Standard and class

ANSI/ISEA 107 Type R or EN ISO 20471, and the class.

Reflective layout

Tape type, band layout and each band's position on every size, measured from the shoulder seam and centre back, with its tolerance.

Logo position, size and method

Zone, size per size band, distance to the nearest tape edge, and print or transfer method.

Area table

Per size: background, tape, deducted logos, remaining background, minimum.

Thread and trim

Thread, binding, closure, pockets and tabs.

Labels and packing

Compliance label text, neck label, packing by size or by person.

Who prepares it and who signs

  1. Pattern room lead grades tape and logo positions in CAD.
  2. Account manager assembles and holds the sheet.
  3. You sign it with your sample approval.
  4. QC manager checks every run against it.

How the factory floor uses it

Cutting, decoration, line QC and final inspection all work from this sheet. No department works from a separate drawing.
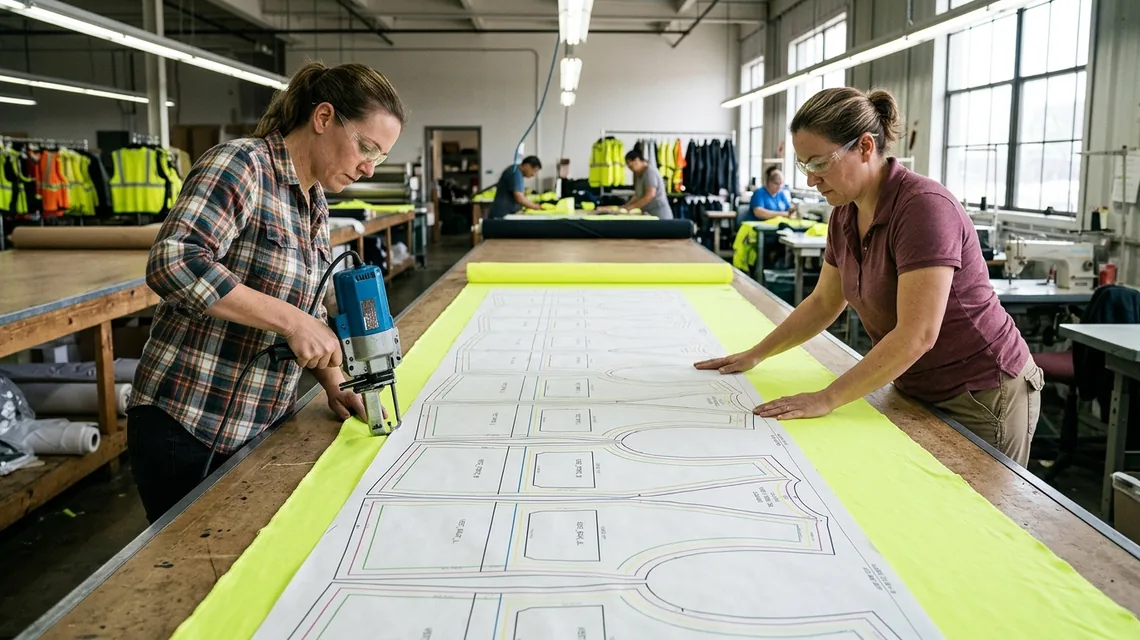
Printed cutting marker for a safety vest laid out on a cutting table

When something changes

A new logo, number, colour, closure or size opens a new version: the area table is recalculated, you re-sign, and the old version stays on file.

Re-orders and your copy

Re-orders use the same marker, tape positions, logo sizes and labels. You keep a signed copy per style with the mill test reports for your PPE file.

Build spec sheet · sample layout
Area table, one row per size on the order
SizeBackground (pattern)TapeLogos deductedRemainingMinimum
SmallestBTL = sum of outlinesB − LStandard's Class 2 figure
Each larger sizeBTLB − LSame figure

08Construction

Safety Vest Construction: Panels, Tape Layout, Binding and Closures

Each part carries either compliance or daily use.
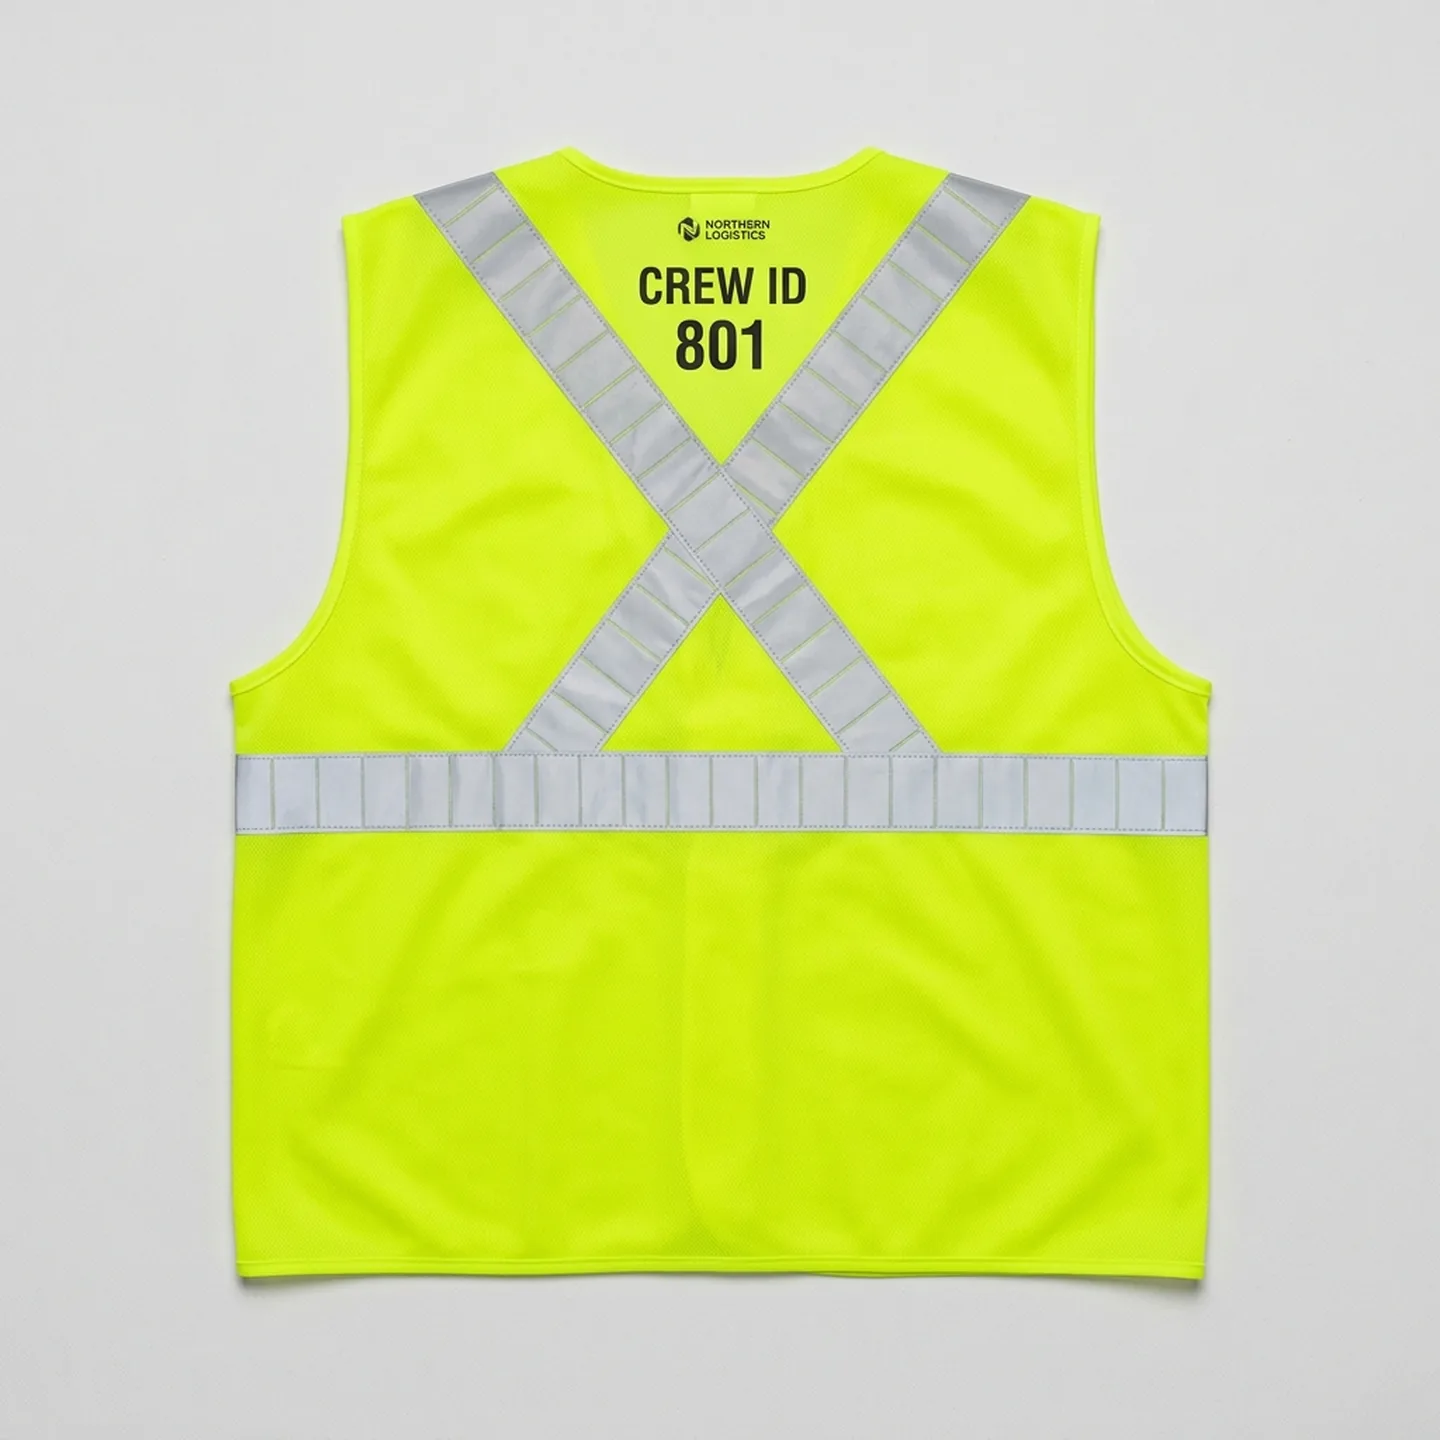
Back of a safety vest with crossed X reflective tape Back of a safety vest with straight vertical reflective tape Straight backX back

Straight or crossed X back; tape positions graded per size.
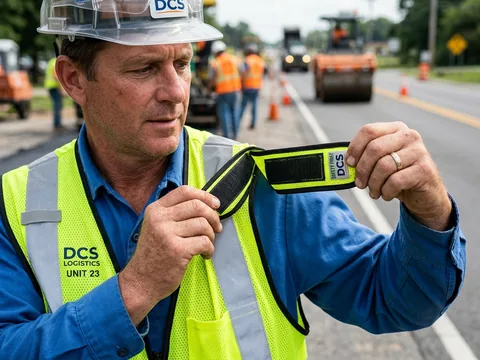
Hook-and-loop breakaway release point opened at the shoulder of a safety vest
Breakaway release at the shoulder
Polyester edge binding on the armhole of a mesh safety vest
Bound armhole edge
Front panels
Carry chest logos, pockets and closure.
Back panel
Largest logo zones; solid knit on mesh vests.
Shoulders and sides
Hook-and-loop release points on breakaway vests.
Reflective tape
Two verticals over the shoulders, one horizontal band.
Edge binding
Polyester binding so edges survive industrial washing.
Closures and pockets
Zipper, hook-and-loop or breakaway; pockets and tabs.
Labels
Compliance label and your neck label.
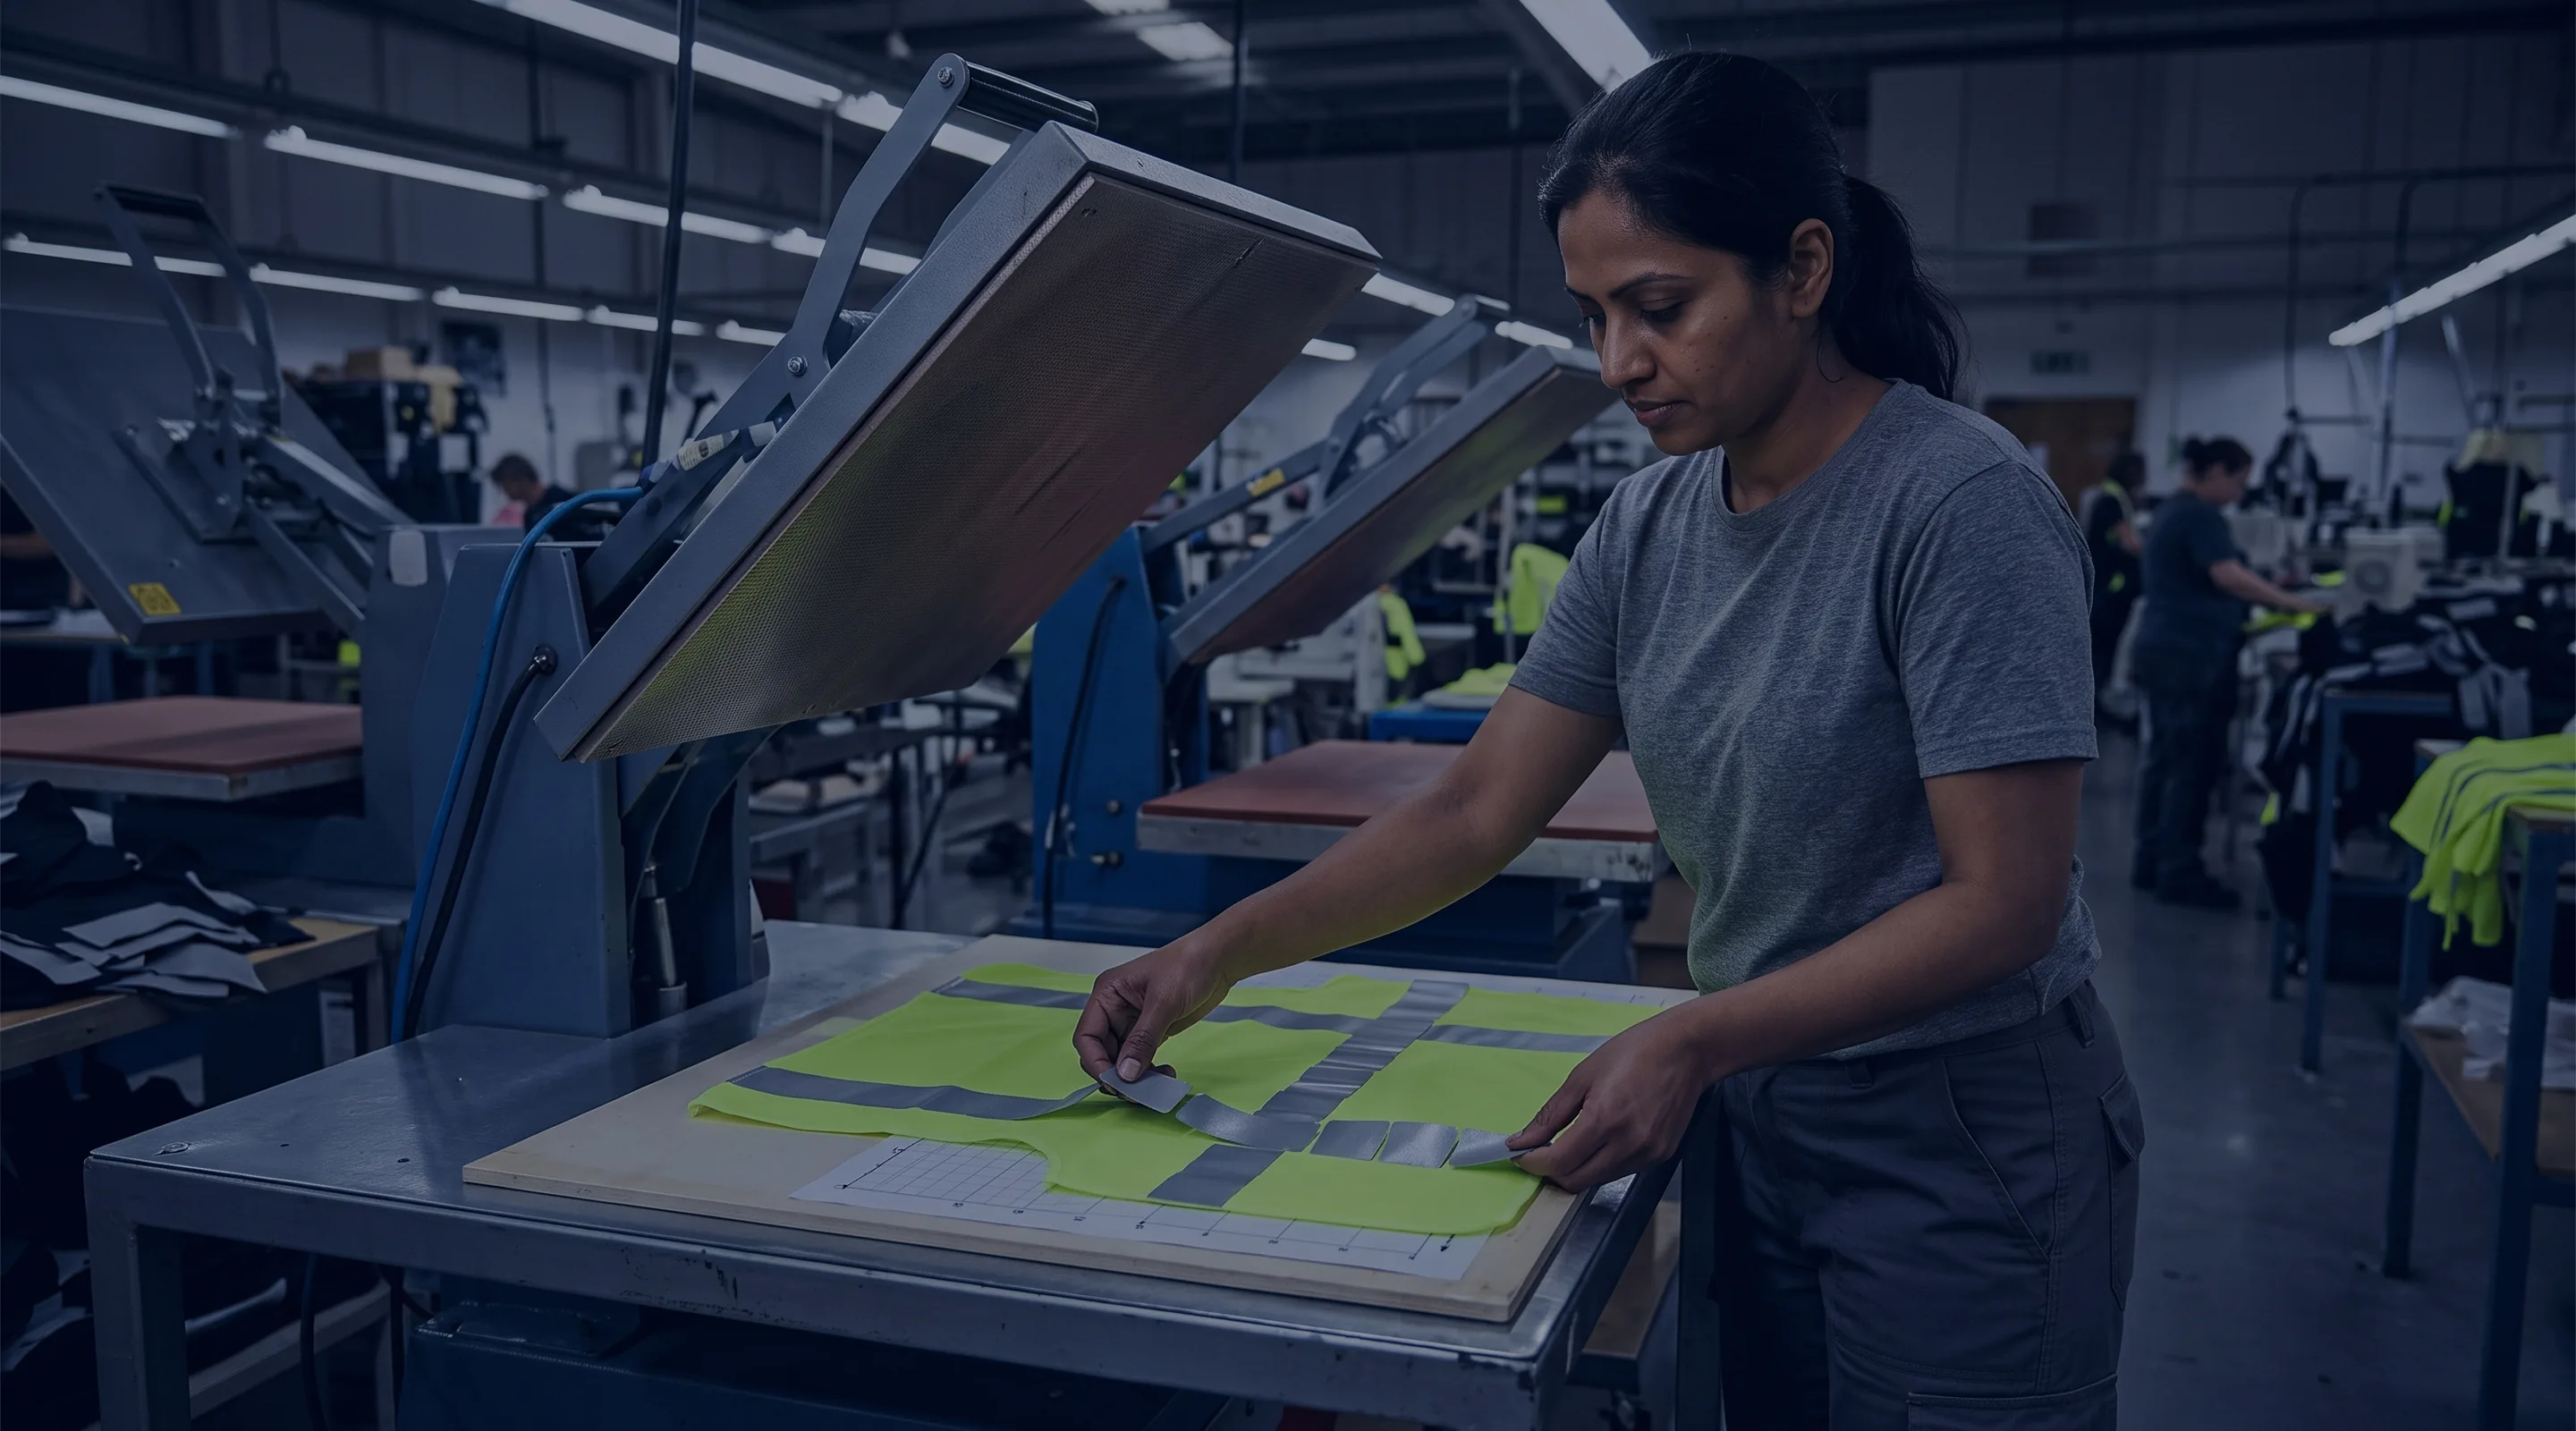
Heat press operator placing segmented reflective tape on a safety vest panel using a placement guide

09Reflective tape

Reflective Tape Held to ±5 mm, First Piece Signed on Every Press

Tape position and adhesion are where a vest build is most easily lost. Control points on our 8 heat presses:

Press settings per style and fabric

Temperature, dwell and pressure set on the first piece per style and fabric, knit and mesh separately, and kept in your set-up record for re-orders.

Position tolerance

±5 mm

Every band is checked against the spec sheet within this window, so the layout matches the one the area table was calculated on.

During the run

Inline pulls check the same items; every size change gets a new first piece.
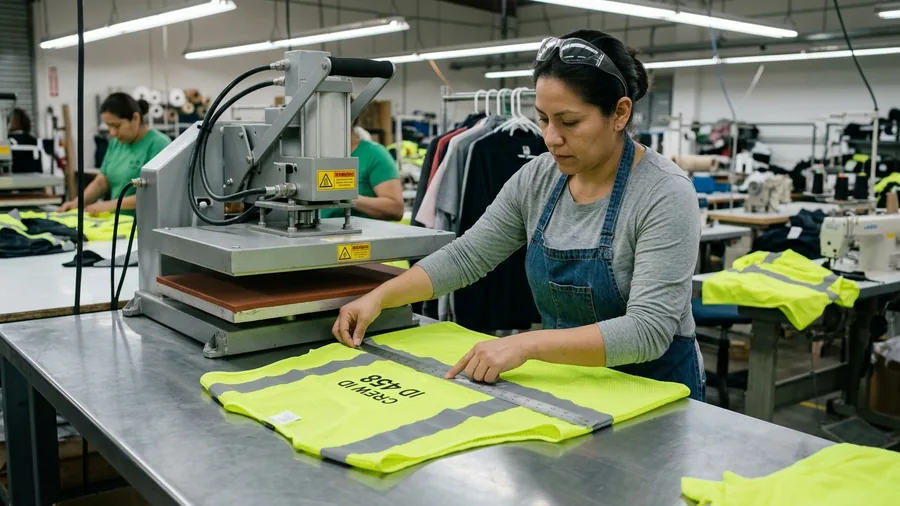
Line QC measuring the reflective tape position on the first vest off a heat press

Positions from the spec sheet

A placement guide made for each size from the graded pattern.
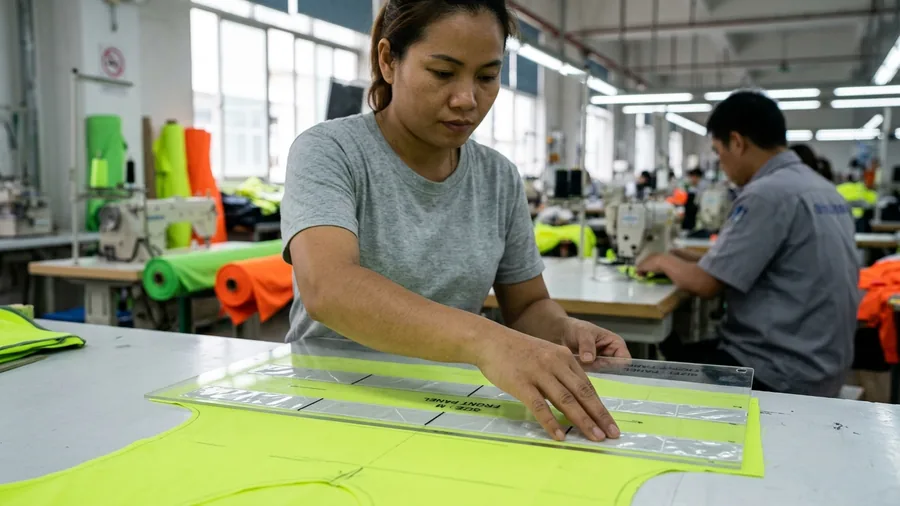
Size-specific placement guide laid over a safety vest panel to position reflective tape

First-piece sign-off

Line QC checks the first vest off each press against the approved sample; the run continues only after signature.

  • Band positions on the size being run
  • Segments bonded, no lifted corners
  • No scorching or glazing
  • Tape straight across seams

Outside tolerance

Never peeled and re-pressed: the vest is remade from new cut panels. A faulty press is stopped, reset and re-signed, escalated to the QC manager within the shift.

Sewn glass-bead tape: stitched on both edges at the same positions and tolerance.

10How it is made

Six Steps From Mill-Tested Fabric to a Packed Vest

Each vest passes through six steps on our own floor, all against the same build spec sheet.
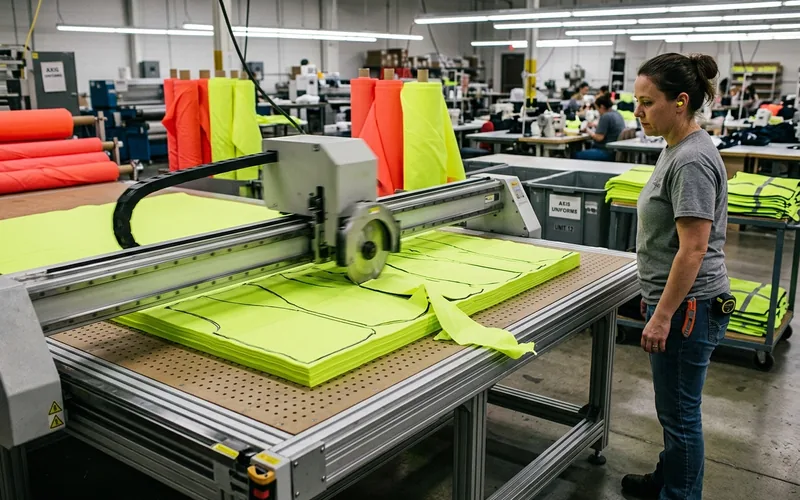
Automatic multi-ply cutting table cutting fluorescent yellow-green vest panels Segmented reflective tape being heat-applied to a safety vest on a press Folded safety vests going into individual polybags with size stickers
  1. Fabric and tape intake

    Each fabric and tape lot is recorded against your order with its mill test report; your colour is held as a retained lab dip.

  2. Cutting

    Automatic multi-ply cutting tables cut from the CAD marker the area table was calculated on.

  3. Sewing and binding

    Panels joined, edges bound, closures, pockets, tabs and the compliance label set.

  4. Reflective tape

    Heat-applied or sewn at the spec-sheet positions, under the press controls above.

  5. Logo and numbers

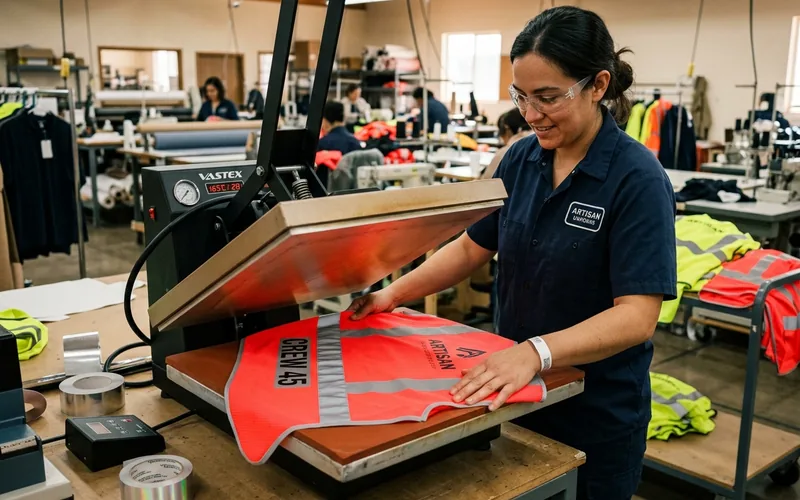
    Screen printed on 4 automatic carousel lines or heat-transferred; crew numbers applied from your staff list.

  6. Inspection and packing

    Inline and final checks, then each vest folded into its own polybag.
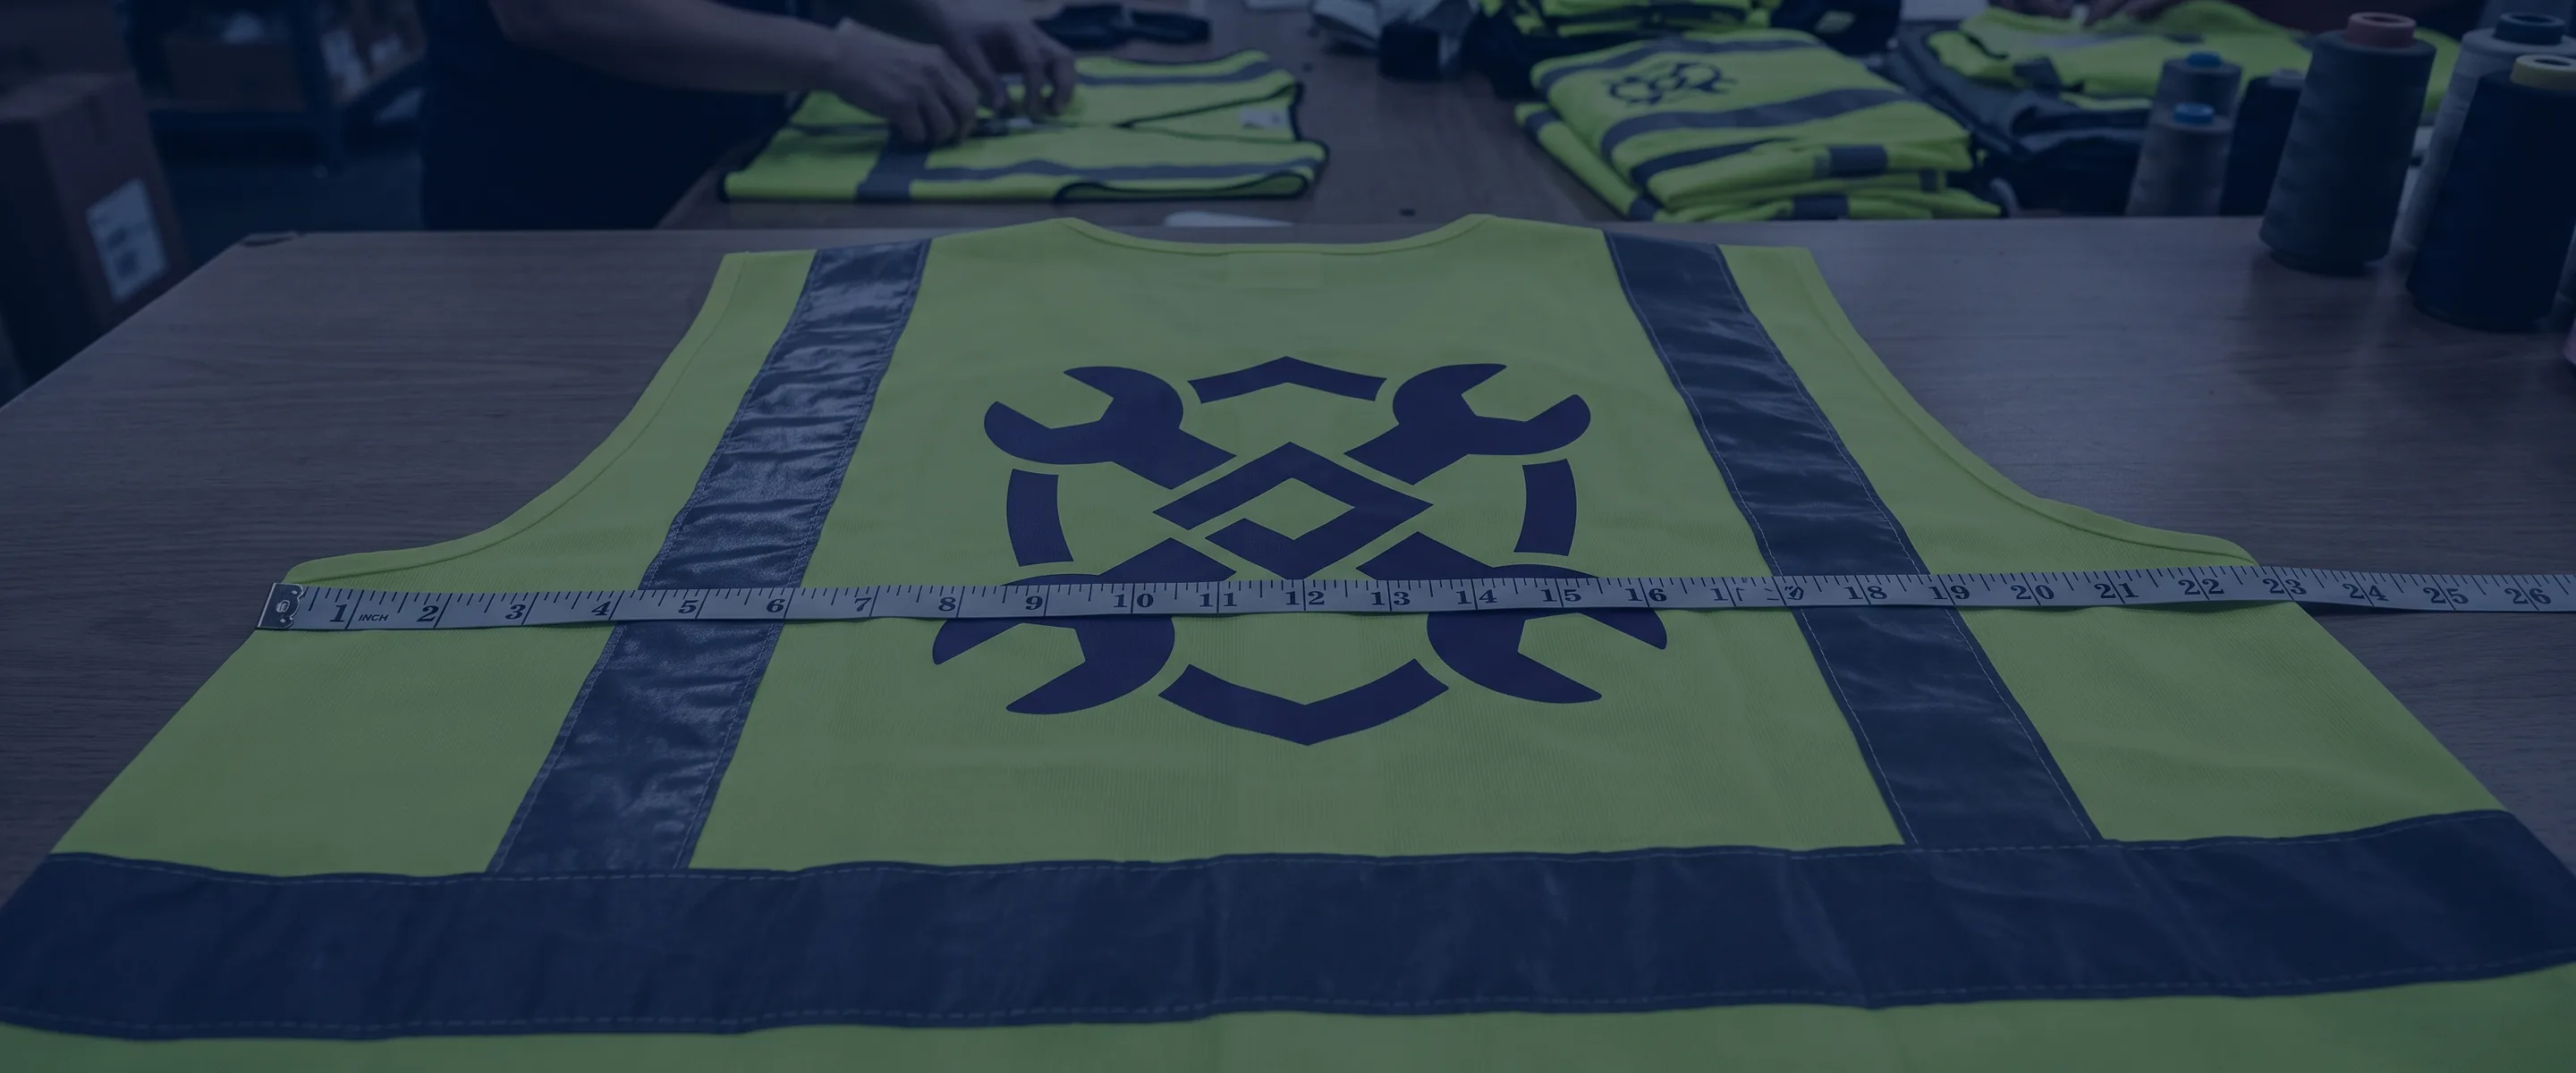
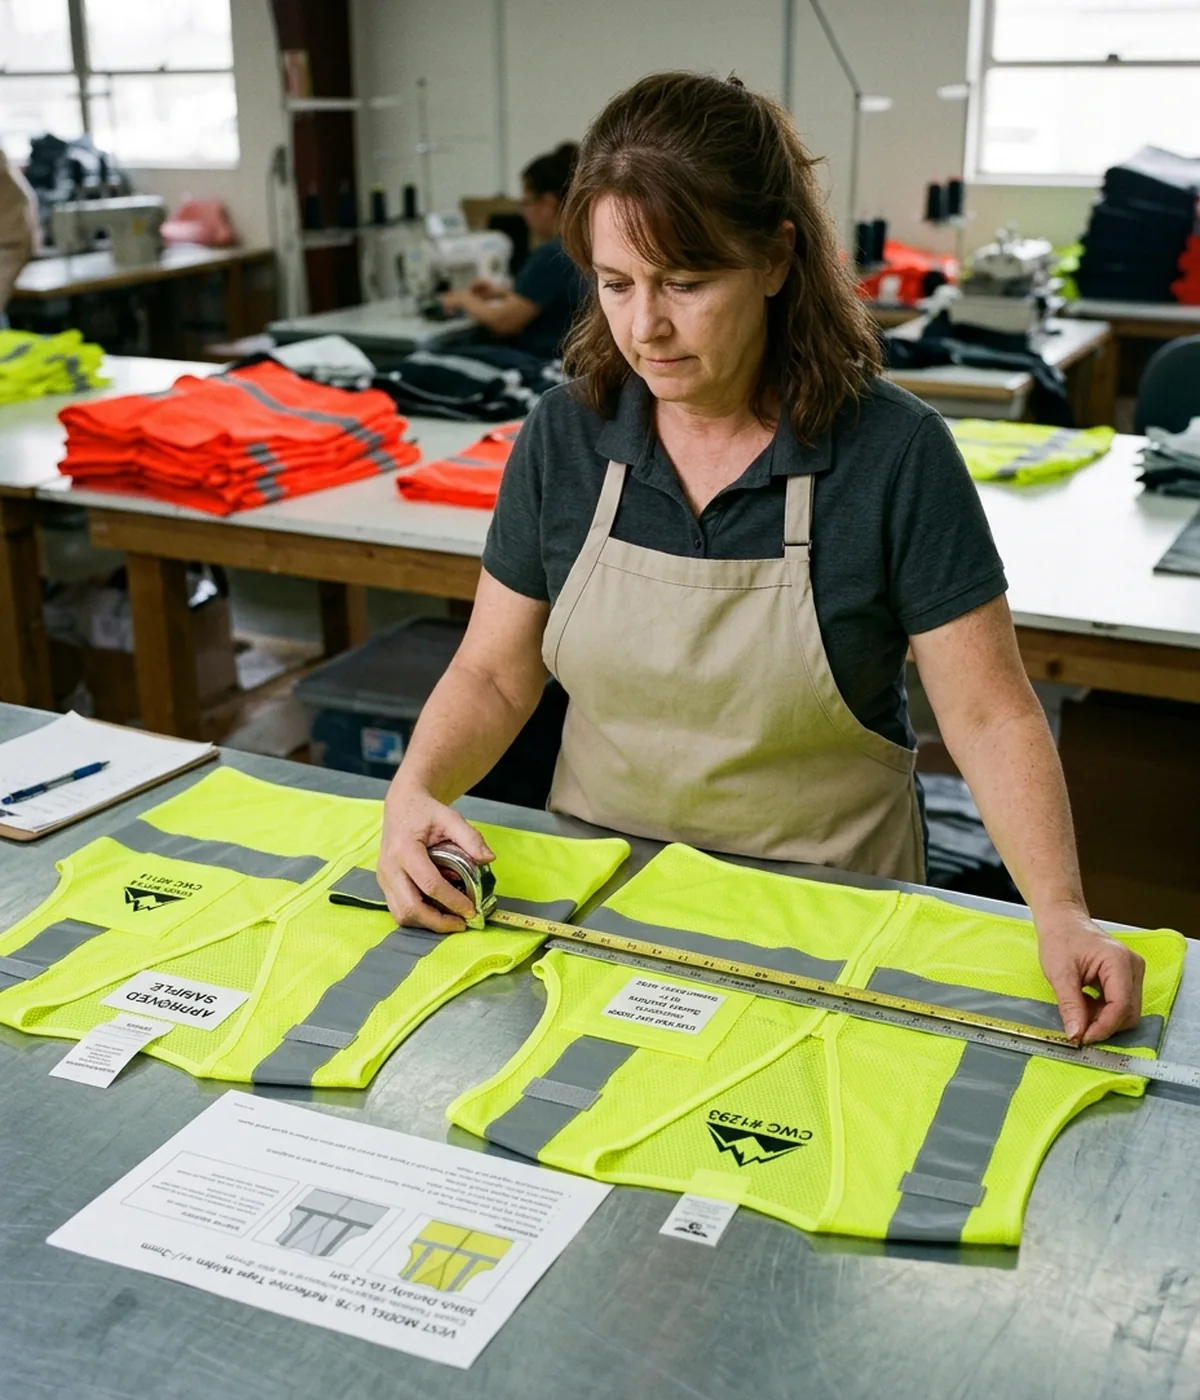
Measuring tape lying across the back logo of a flat safety vest

Send Your Logo and Class, Get a Size-by-Size Logo Plan

With your logo confirmation, before sampling, you receive the logo zones and sizes proposed for your vests and the background-area check for every size on your order.
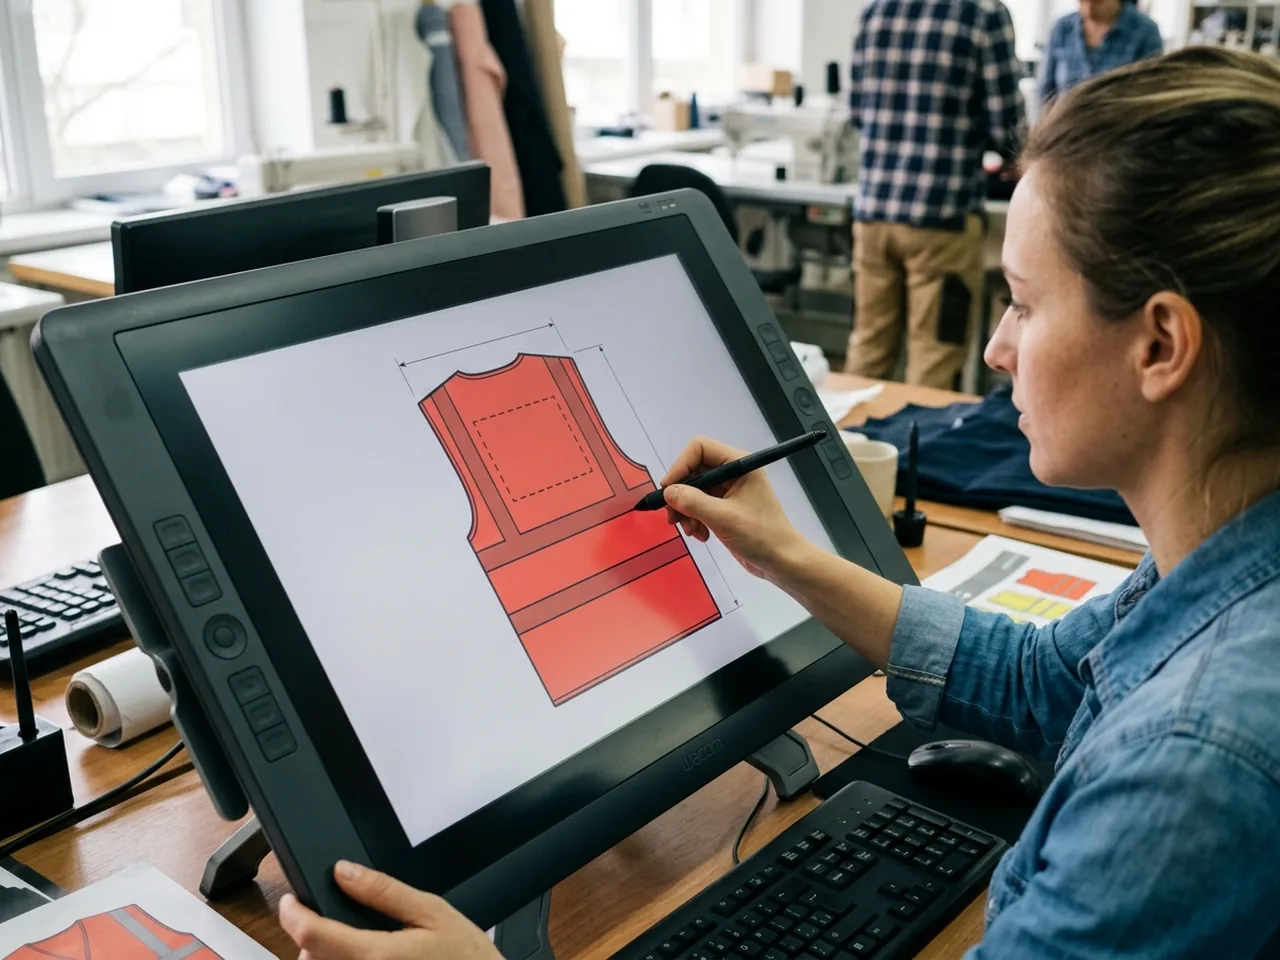
Designer's screen showing logo zones and sizes marked on the back of a safety vest
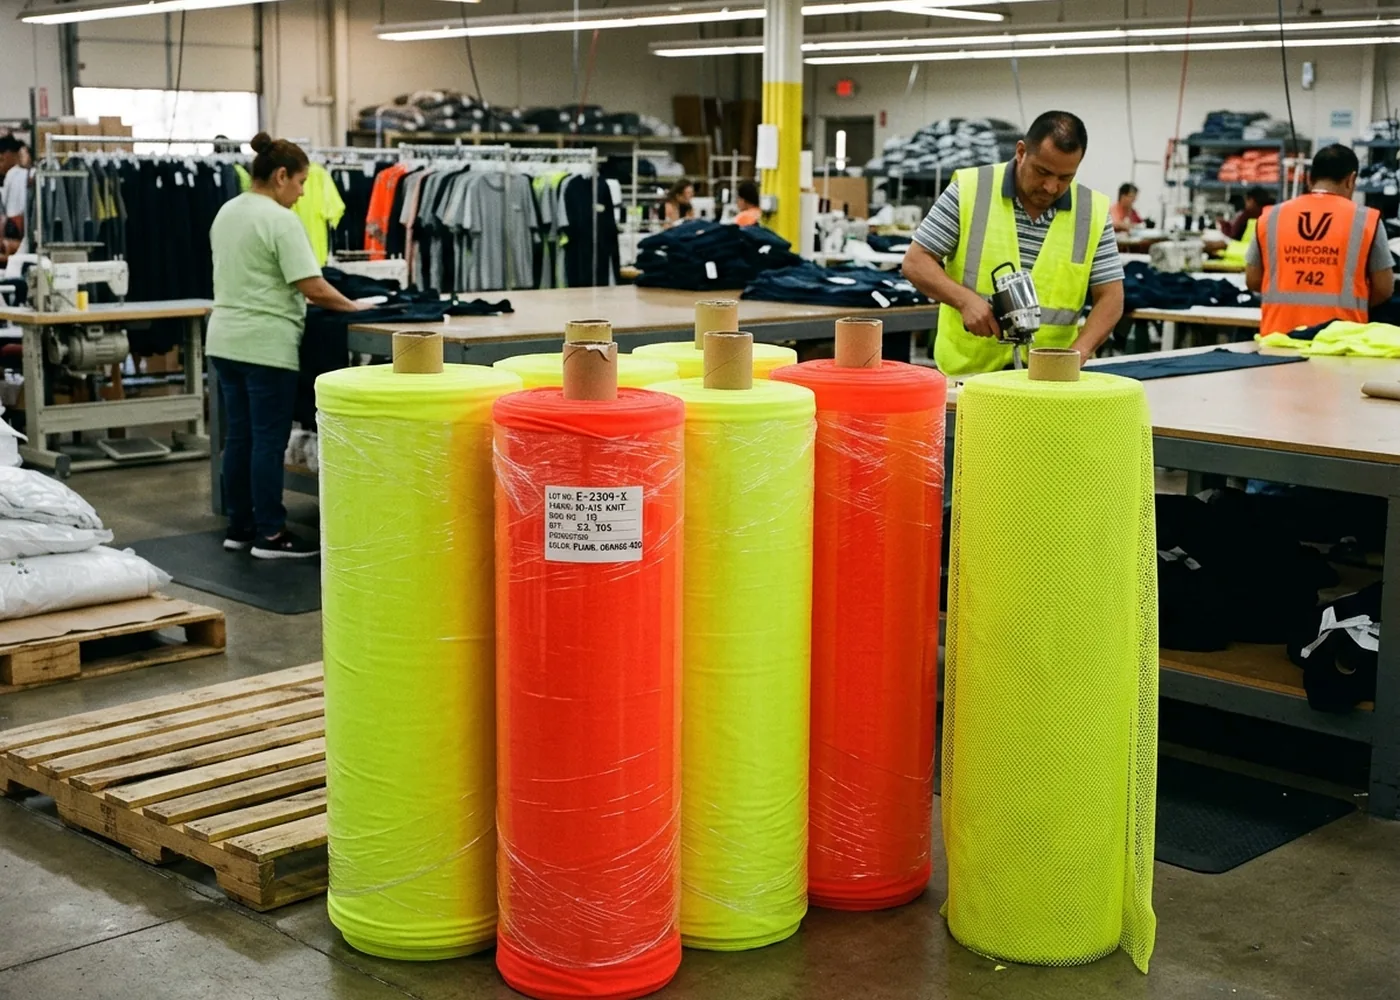
Rolls of fluorescent yellow-green and orange-red polyester knit beside hi-vis mesh fabric

11Fabrics and tape

Hi-Vis Vest Fabrics and Reflective Tape Supplied With Mill Test Reports

Fabric and tape come with the mill's test report for your standard; each lot is recorded and its report sent with your order.

Solid knit

100% polyester knit in fluorescent yellow-green, orange-red, and red for EN ISO 20471 builds. A closed, even surface for screen print and heat transfer.

Mesh

100% polyester mesh in the same fluorescent colours, for vests worn through hot weather; a solid-knit back panel can carry the logo.
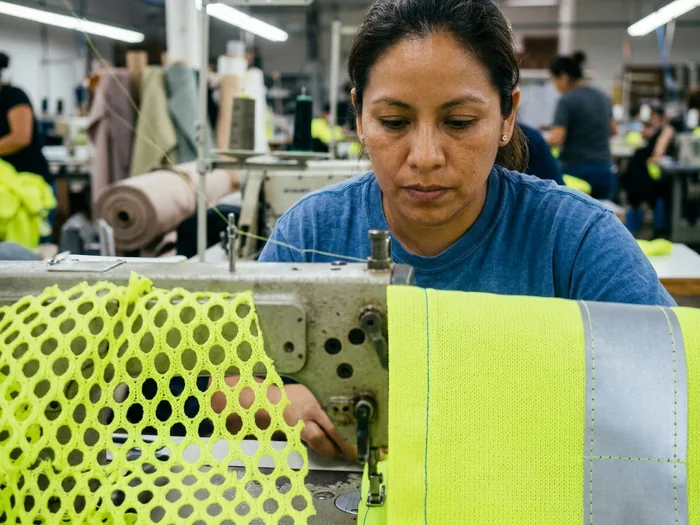
Close-up of fluorescent knit and mesh vest fabrics side by side

Segmented reflective tape

50 industrial wash cycles

Heat-applied and segmented so the vest flexes and breathes at the tape. The same count is the maximum printed on the compliance label.
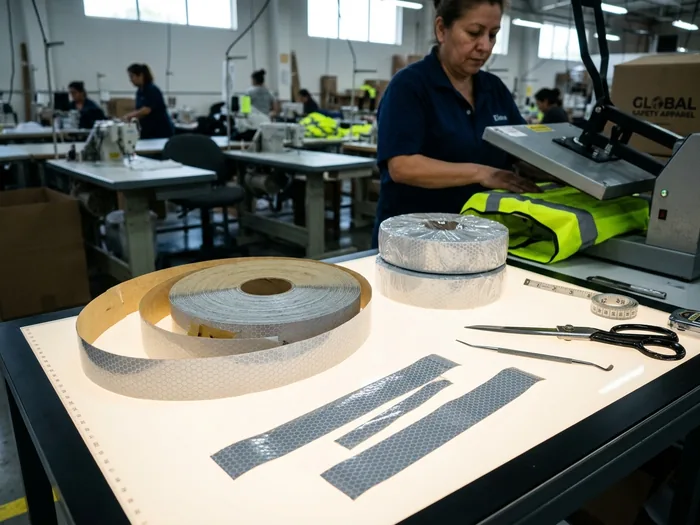
Rolls of segmented reflective tape and sample strips
  • Sewn glass-bead tape as an option
  • Thread, binding and closures colour-matched
  • Your colour held as a retained lab dip; how re-order shade is checked
Quality inspector comparing tape and logo positions on a bulk safety vest with the approved sample

12Inspection

Vest Inspection and the Document File Your EHS Team Keeps

Every check is made against the approved sample and the signed build spec sheet.

First piece

Line QC signs the first piece on each sewing line, heat press and print line before the run continues.

3 inline QC points

  • Tape band positions on each size, against the spec sheet
  • Segments fully bonded, edges flat, tape straight across seams
  • Logo size within the size signed for that size band
  • Logo in its signed zone, clear of every tape edge
  • Crew numbers and names against your signed list
  • Fluorescent colour against the approved sample
  • Closures working; breakaway points open and re-close
  • Compliance label matches the spec sheet and the vest
  • Vest measurements against the size spec

Final release

AQL 2.5, General Level II, released by the QC manager; industrial-laundry programs also need the passed ISO 15797 pre-production test.

Mill test reports

For the fabric and tape lots used in your vests.

Signed spec sheet

One per style, with the per-size area table.

Wash test record

Before and after photos for each logo and fabric.

Final inspection report

The report the order was released on.

Carton labels

PO, style, colour, dye lot; name, size and site when packed by person.

Third-party garment testing
Arranged per order on request, built into the sample plan.
Factory systems
ISO 9001 quality system · amfori BSCI audited · certificates on request.
After delivery
Tape or logo outside the signed sheet is a defect under the after-delivery terms.

13Supply and lead times

Stock Vests With Your Logo, Custom Vest Builds or Private Label

Every route uses the same in-house tape application, area check and inspection, and can be packed by person.
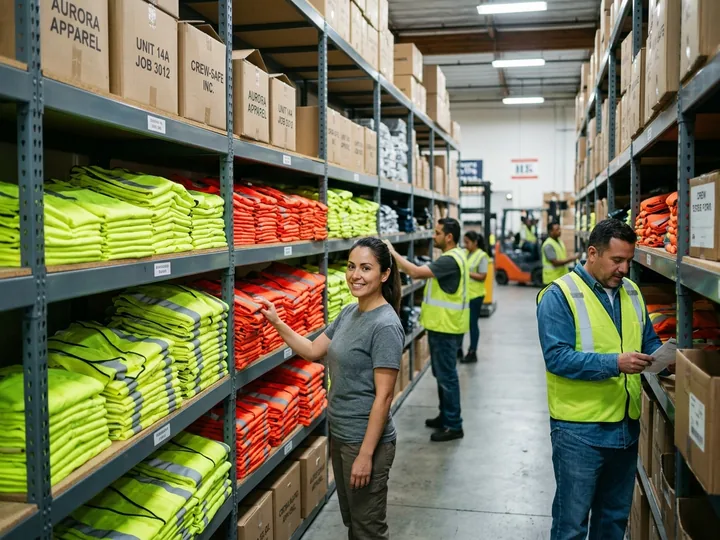
Shelves of folded yellow-green and orange-red stock safety vests

Stock vests with your logo

5–7 days

Logo-on-stock sample from core Class 2 styles; the area check runs on the stock pattern. For a new site, fast.
LogoCrew numbersLabels
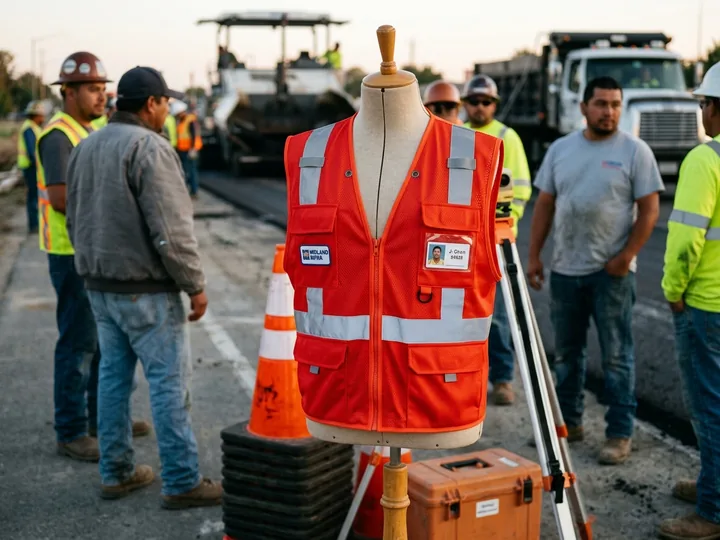
Custom surveyor-style safety vest with pockets and radio tabs on a mannequin

Custom vest build

37–50 days

Sample 12–15 days + bulk 25–35 days, quote approval to ex-factory. For one vest across many sites.
FabricColourTape type and layoutClosuresPocketsLabel text
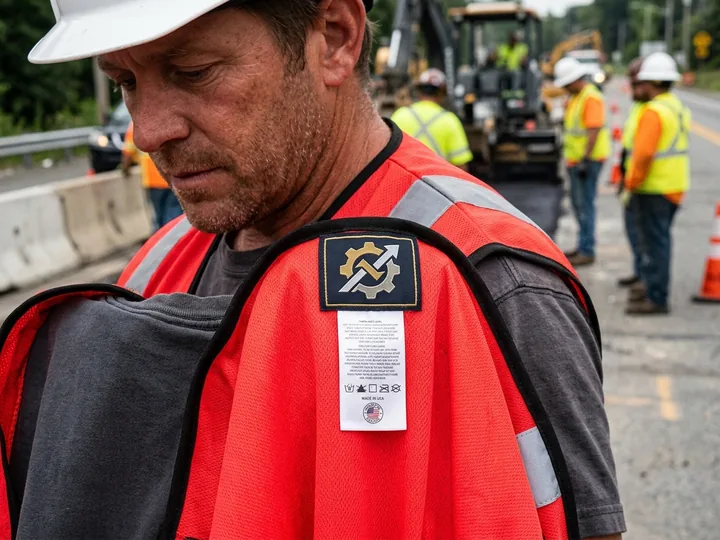
Private-label neck label and compliance label inside a safety vest

Private label

Your label

Core styles under your neck label; one spec sheet per end-customer logo.

Neck labelEnd-customer logos

14Program model

Road and Utility Contractor: 14 Job Sites, About 1,100 Field Staff

A road and utility contractor in North America runs its hi-vis vests with us across every job site, from one signed build spec sheet.
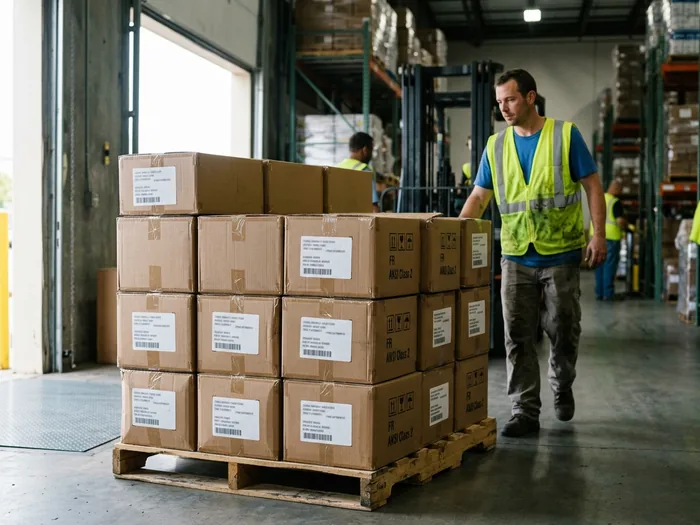
14
job sites
~1,100
field staff
Quarterly
re-orders
Wear
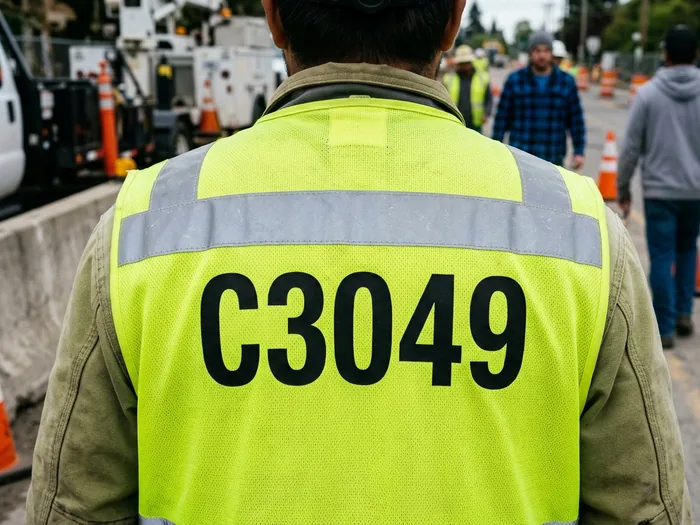
Class 2 safety vests built to ANSI/ISEA 107, company logo on the front, each employee's ID number on the back panel so supervisors can identify every person in a work zone.
Logo plan
Logo and crew number checked against the Class 2 minimum from the smallest size up, written into one spec sheet that their safety team signed with the sample.
Runs
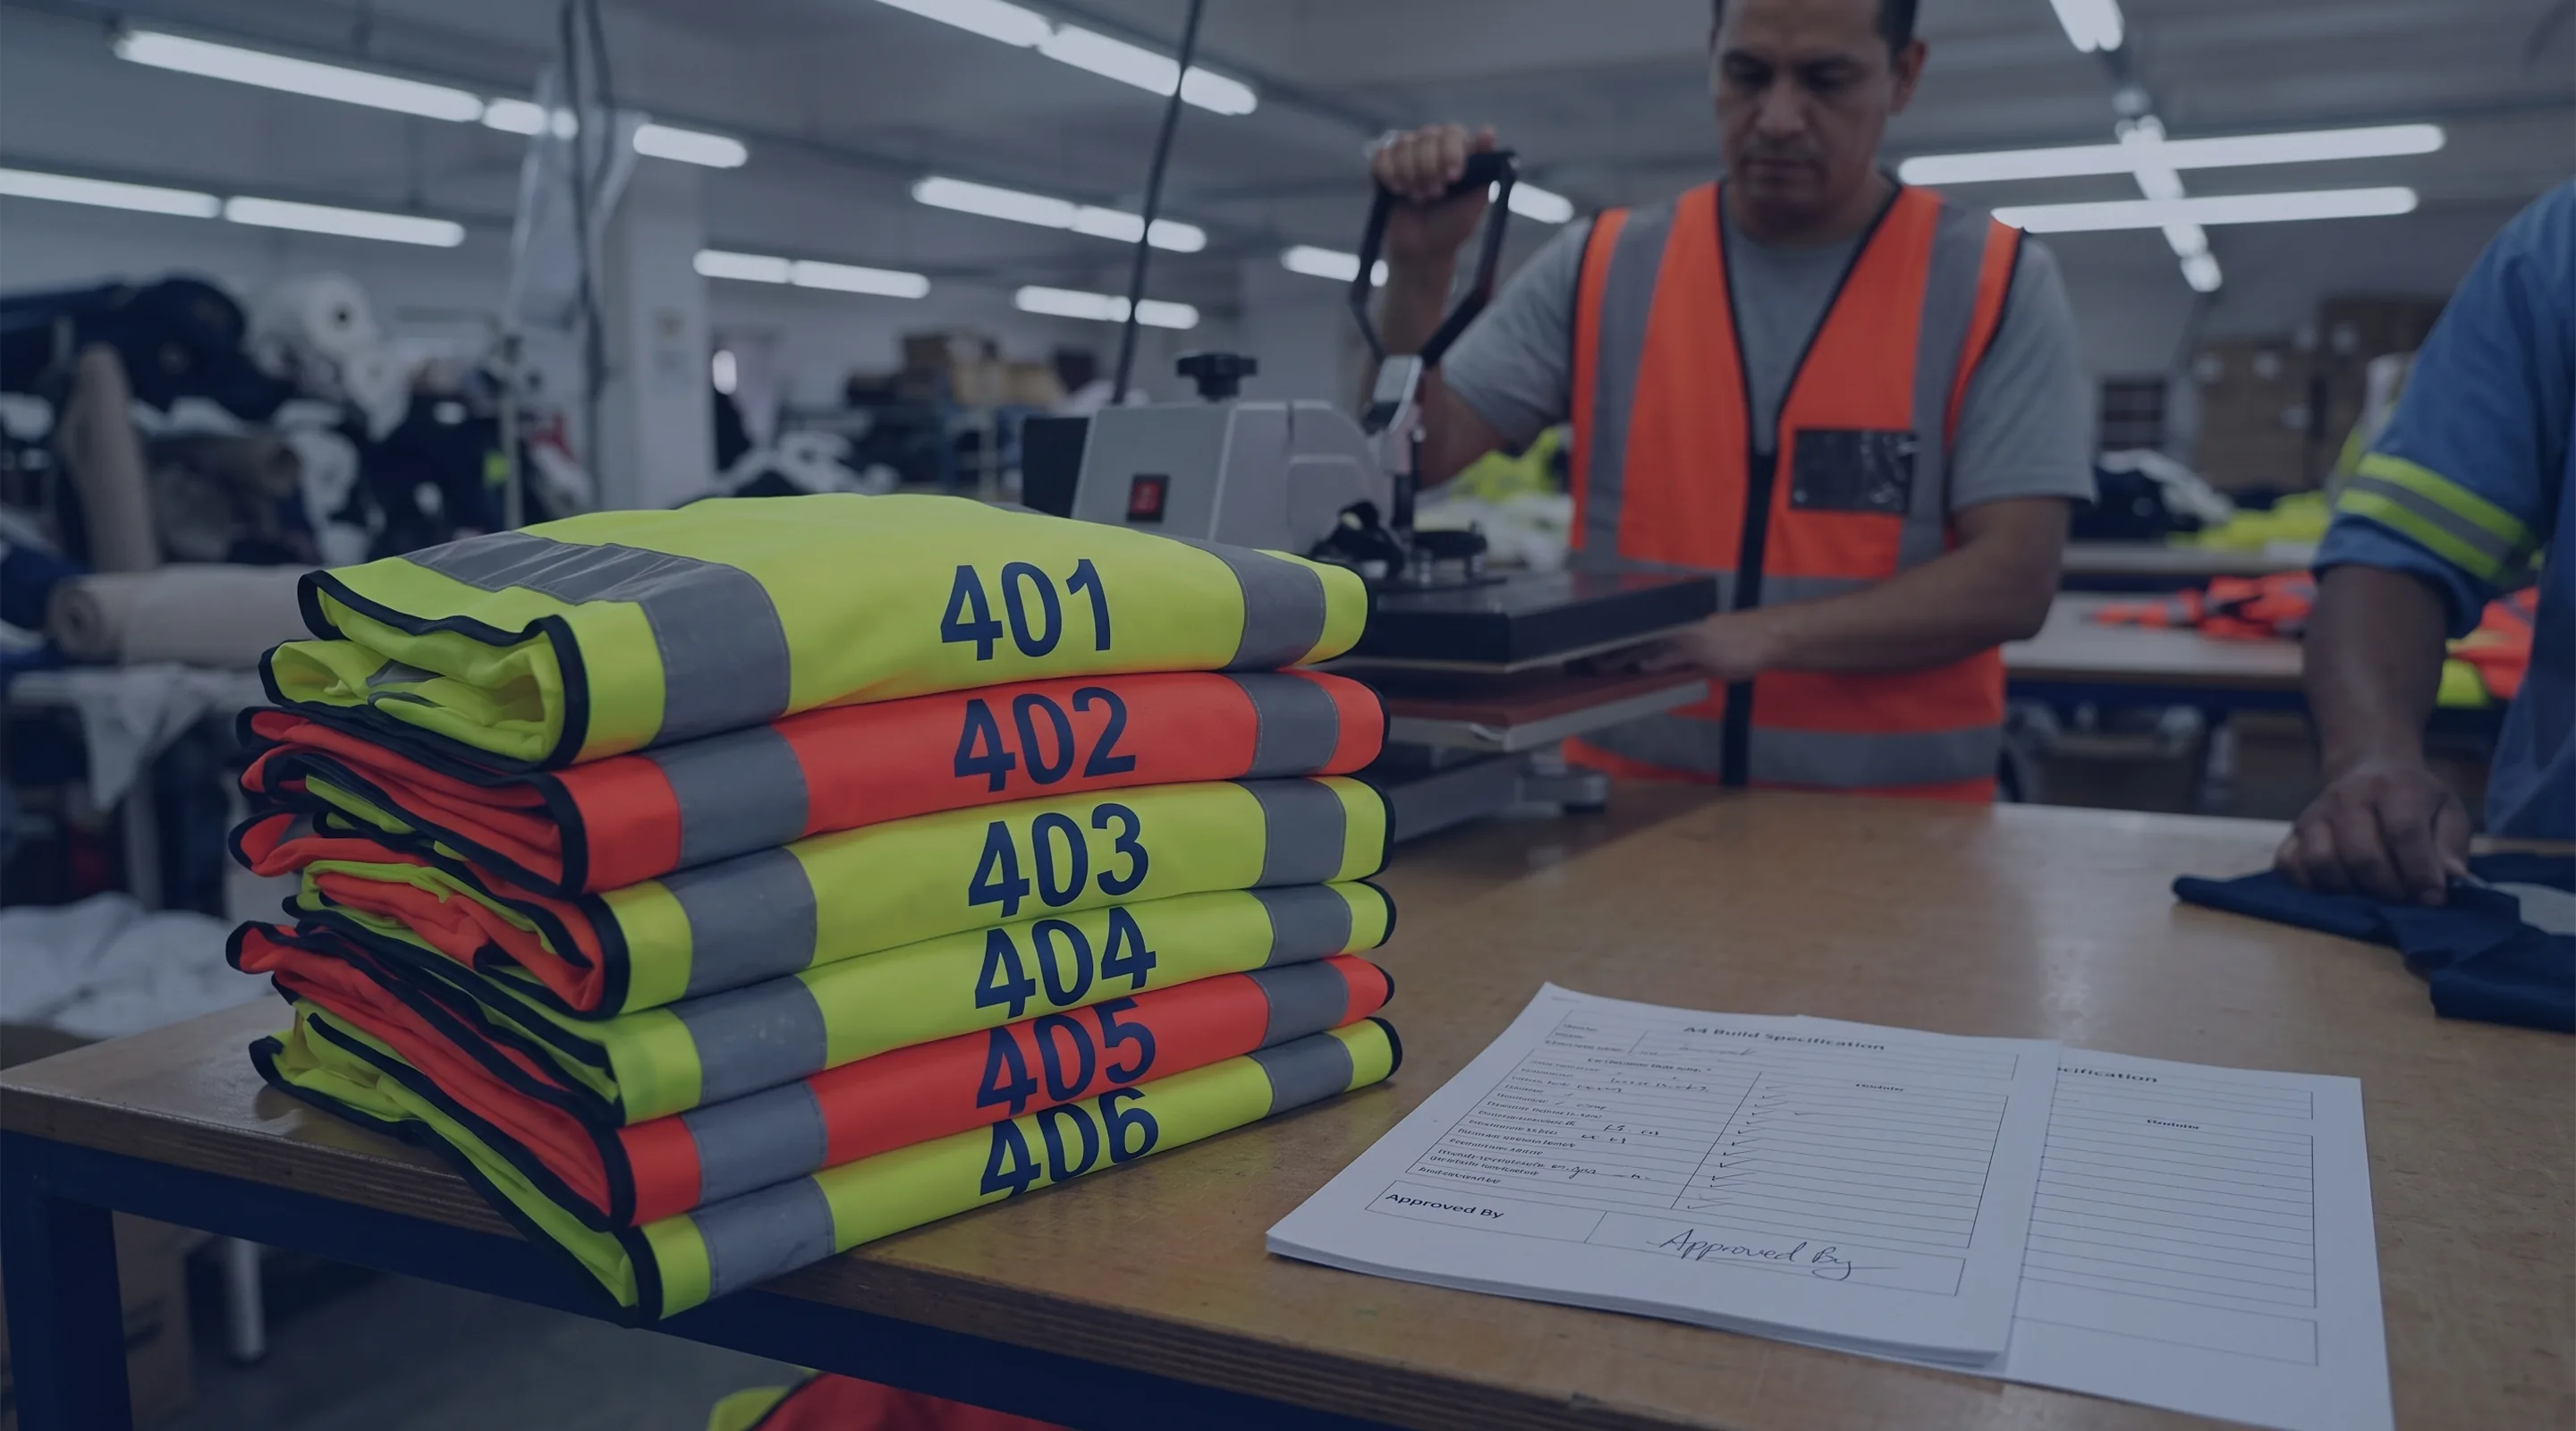
A crew list per site with each person's ID number and size; numbers heat-applied from that list; cartons packed per site, straight to each yard.
Held for them
The signed spec sheet, tape and logo set-up records, CAD pattern and marker files, the retained lab dip and the current crew lists.
Cartons of safety vests packed and labelled per job site Heat-applied employee ID number on the back panel of a safety vest
Run your crews' vests the same way
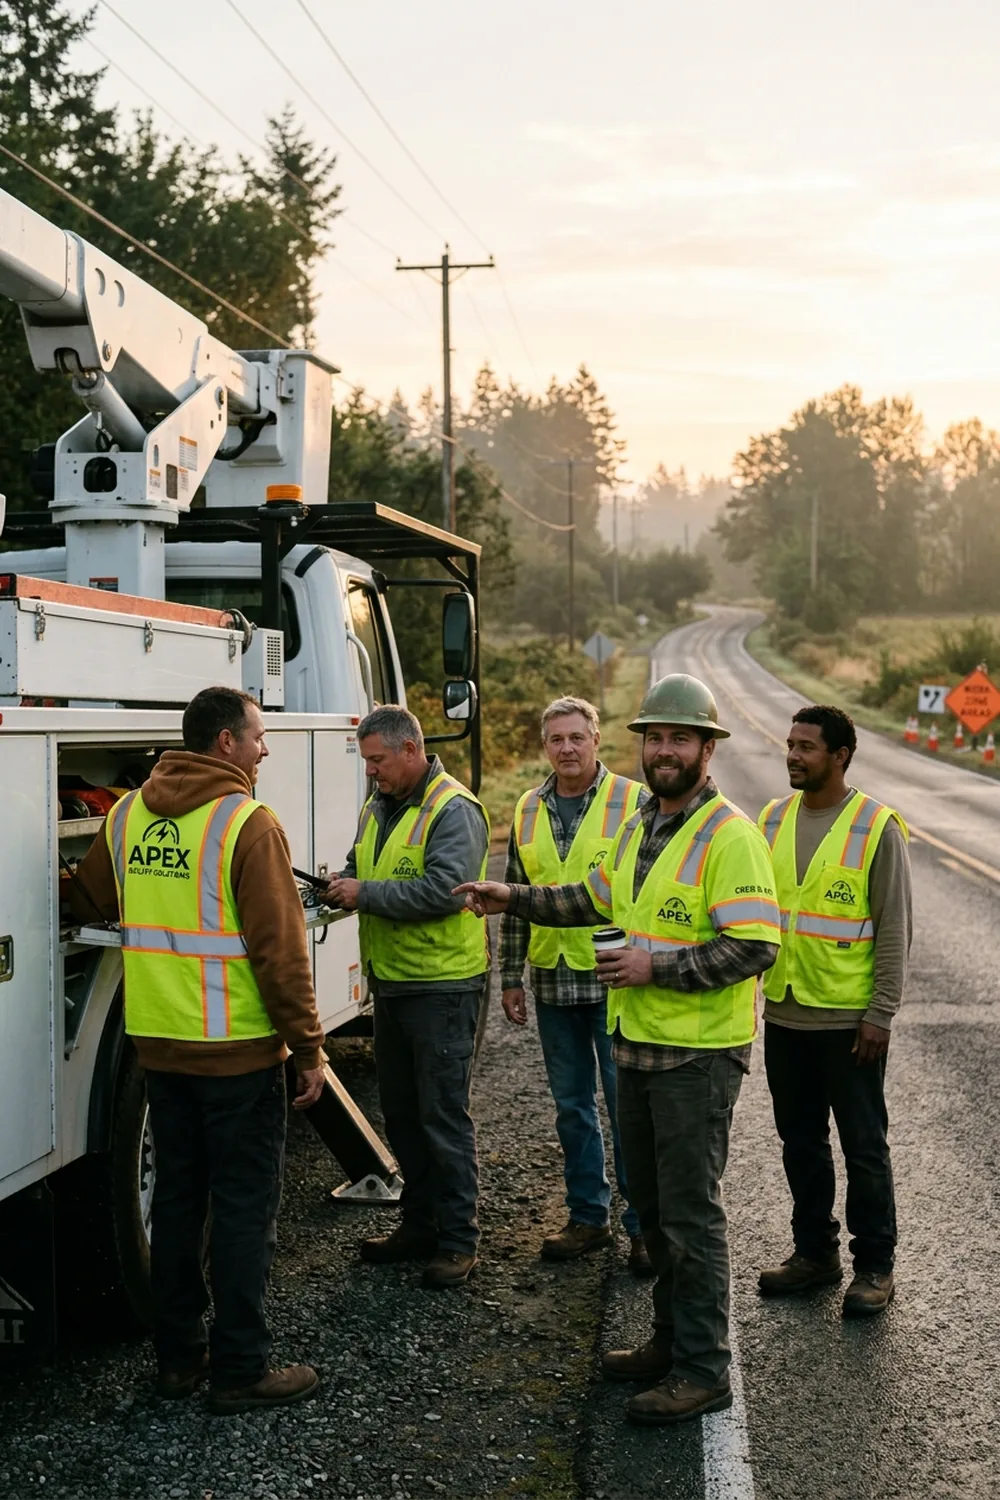
Utility line crew at dawn on a roadside wearing matching Class 2 safety vests

15Quote list

Quote List for Custom Safety Vests: Sixteen Items to Send

Copy it into your email or the form; undecided items can stay open.
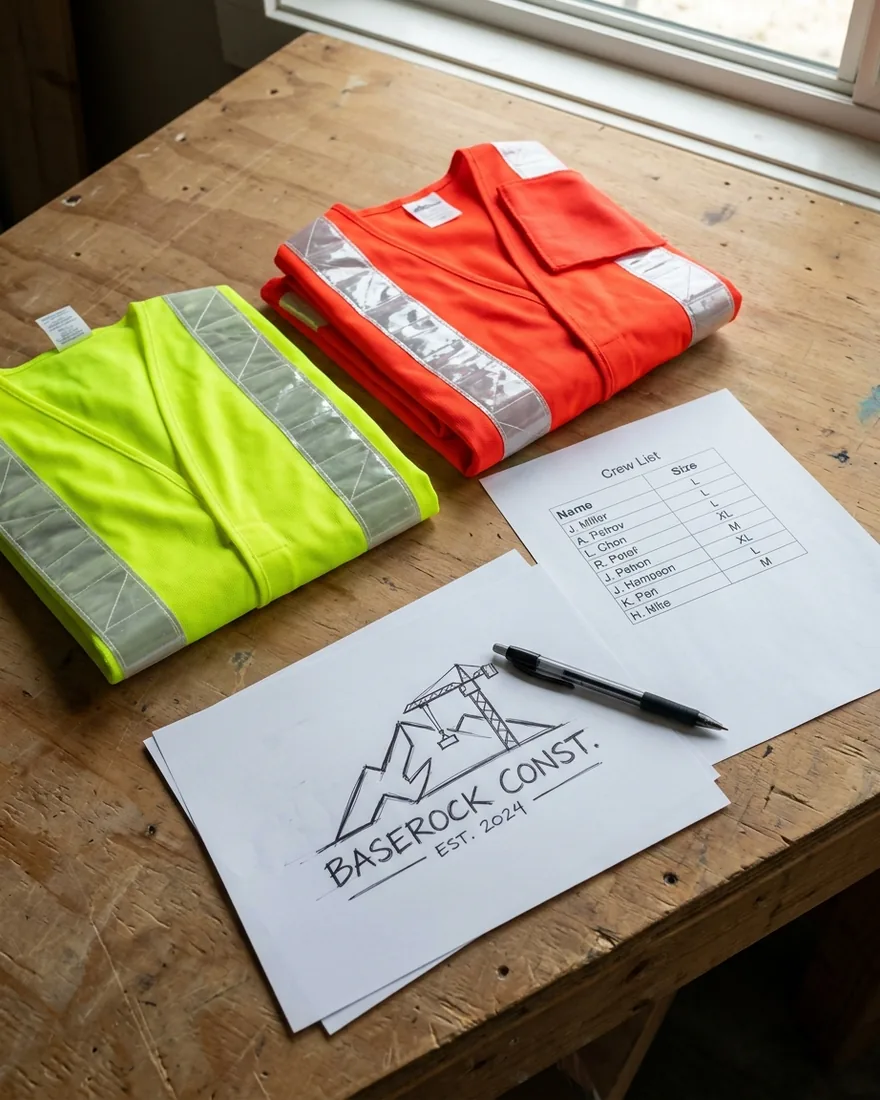
Desk with yellow-green and orange-red vest samples, a printed crew list and a logo sketch

Quote list · safety vests

  • Standard: ANSI/ISEA 107 or EN ISO 20471
  • Class required on site: Class 2, or Class 3 (the sleeved build or ensemble is proposed)
  • Colour: yellow-green, orange-red, or red for EN builds; split by role if needed
  • Fabric: solid knit, mesh, or both
  • Closure: zipper, hook-and-loop or breakaway
  • Pockets and tabs: chest, ID, tablet, radio and mic
  • Tape: heat-applied or sewn; straight or X back
  • Logo file: AI, EPS, PDF or high-resolution PNG (a photo is enough to quote)
  • Logo zones: left chest, right chest, back above or below the tape
  • Crew numbers or names, and the staff list if ready
  • Wash routine: home washing or industrial laundry
  • Quantity and size breakdown, including your smallest size
  • Packing: by size or by person; number of sites
  • Labels: standard or your private label
  • Documents your PPE approval needs, including third-party garment testing
  • In-hands date and delivery country
Stack of folded safety vests with employee numbers on the back beside a signed build spec sheet

Start Your Safety Vest Program

Send your logo, the standard and class your sites require, and your size breakdown.

Within 1 business day
Written quote and sample plan
Before sampling
Logo zones and the size-by-size background-area check

Or write directly: [email protected] · WhatsApp +86 177 0272 7677

Please enter your name.
Please enter your company.
Please enter a valid email address.
Please tell us the quantity and sizes.

After you submit, email your logo and staff list to [email protected] or send them on WhatsApp.